Astrophotography settings 101: A step-by-step guide to nailing your shot
Master your night sky shots — step-by-step settings for beginners who want sharp stars, rich detail and stunning astro shots every time.
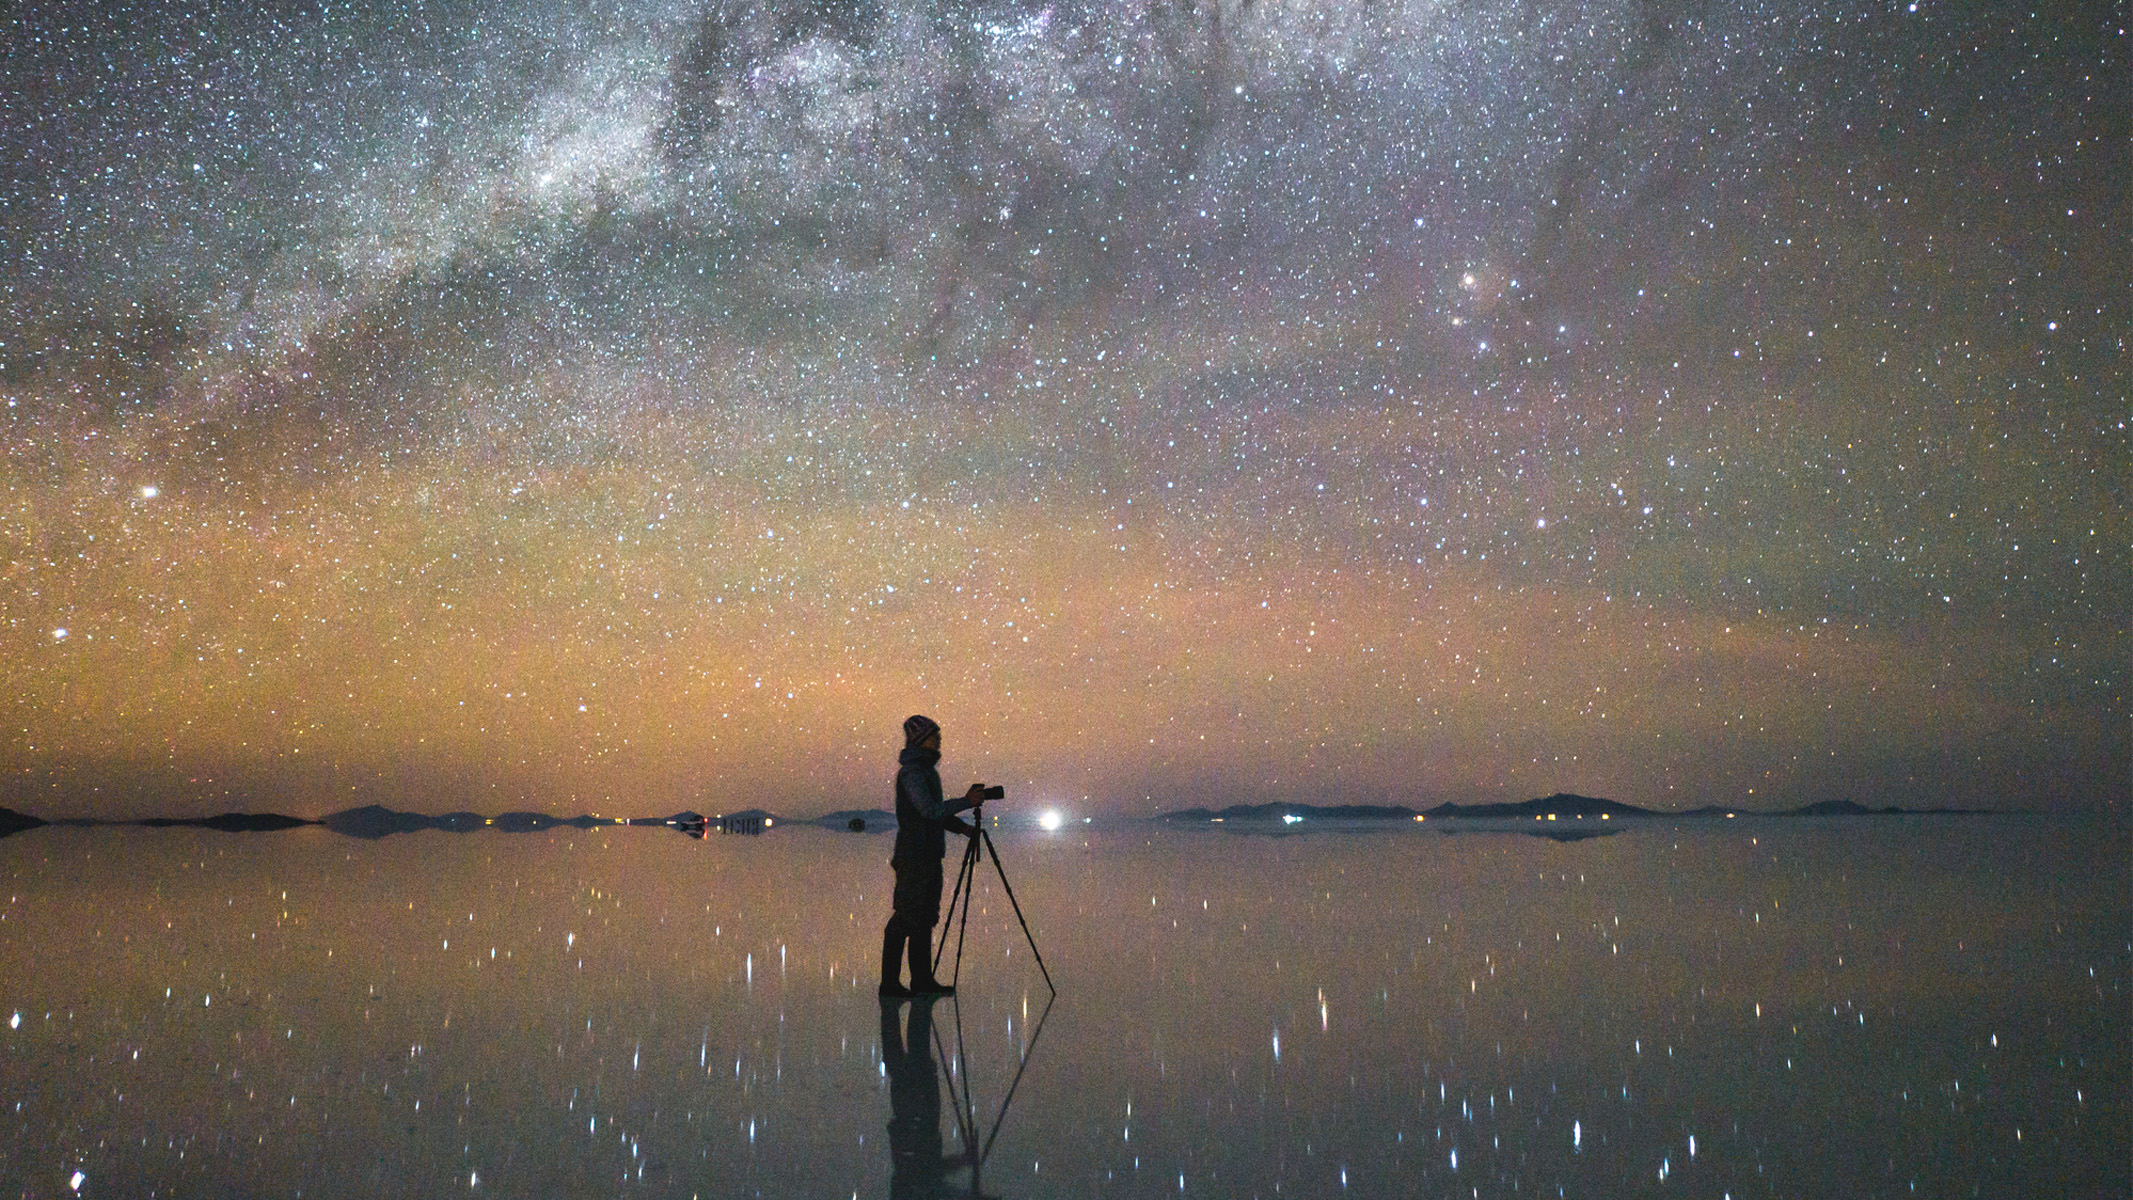
So you’ve got your astrophotography camera, a wide, fast prime lens and a tripod planted firmly on solid ground. The night sky stretches overhead, speckled with stars and maybe the faint sweep of the Milky Way if you’re lucky. Now comes the part that turns a pretty view into a photo worth keeping — dialling in the right settings.
In the dark, your camera can’t rely on auto mode to do the work for you, so you’ll need to take full control. Get it right, and you’ll capture the scene as you imagined it, with all its depth and detail intact.
Manual mode
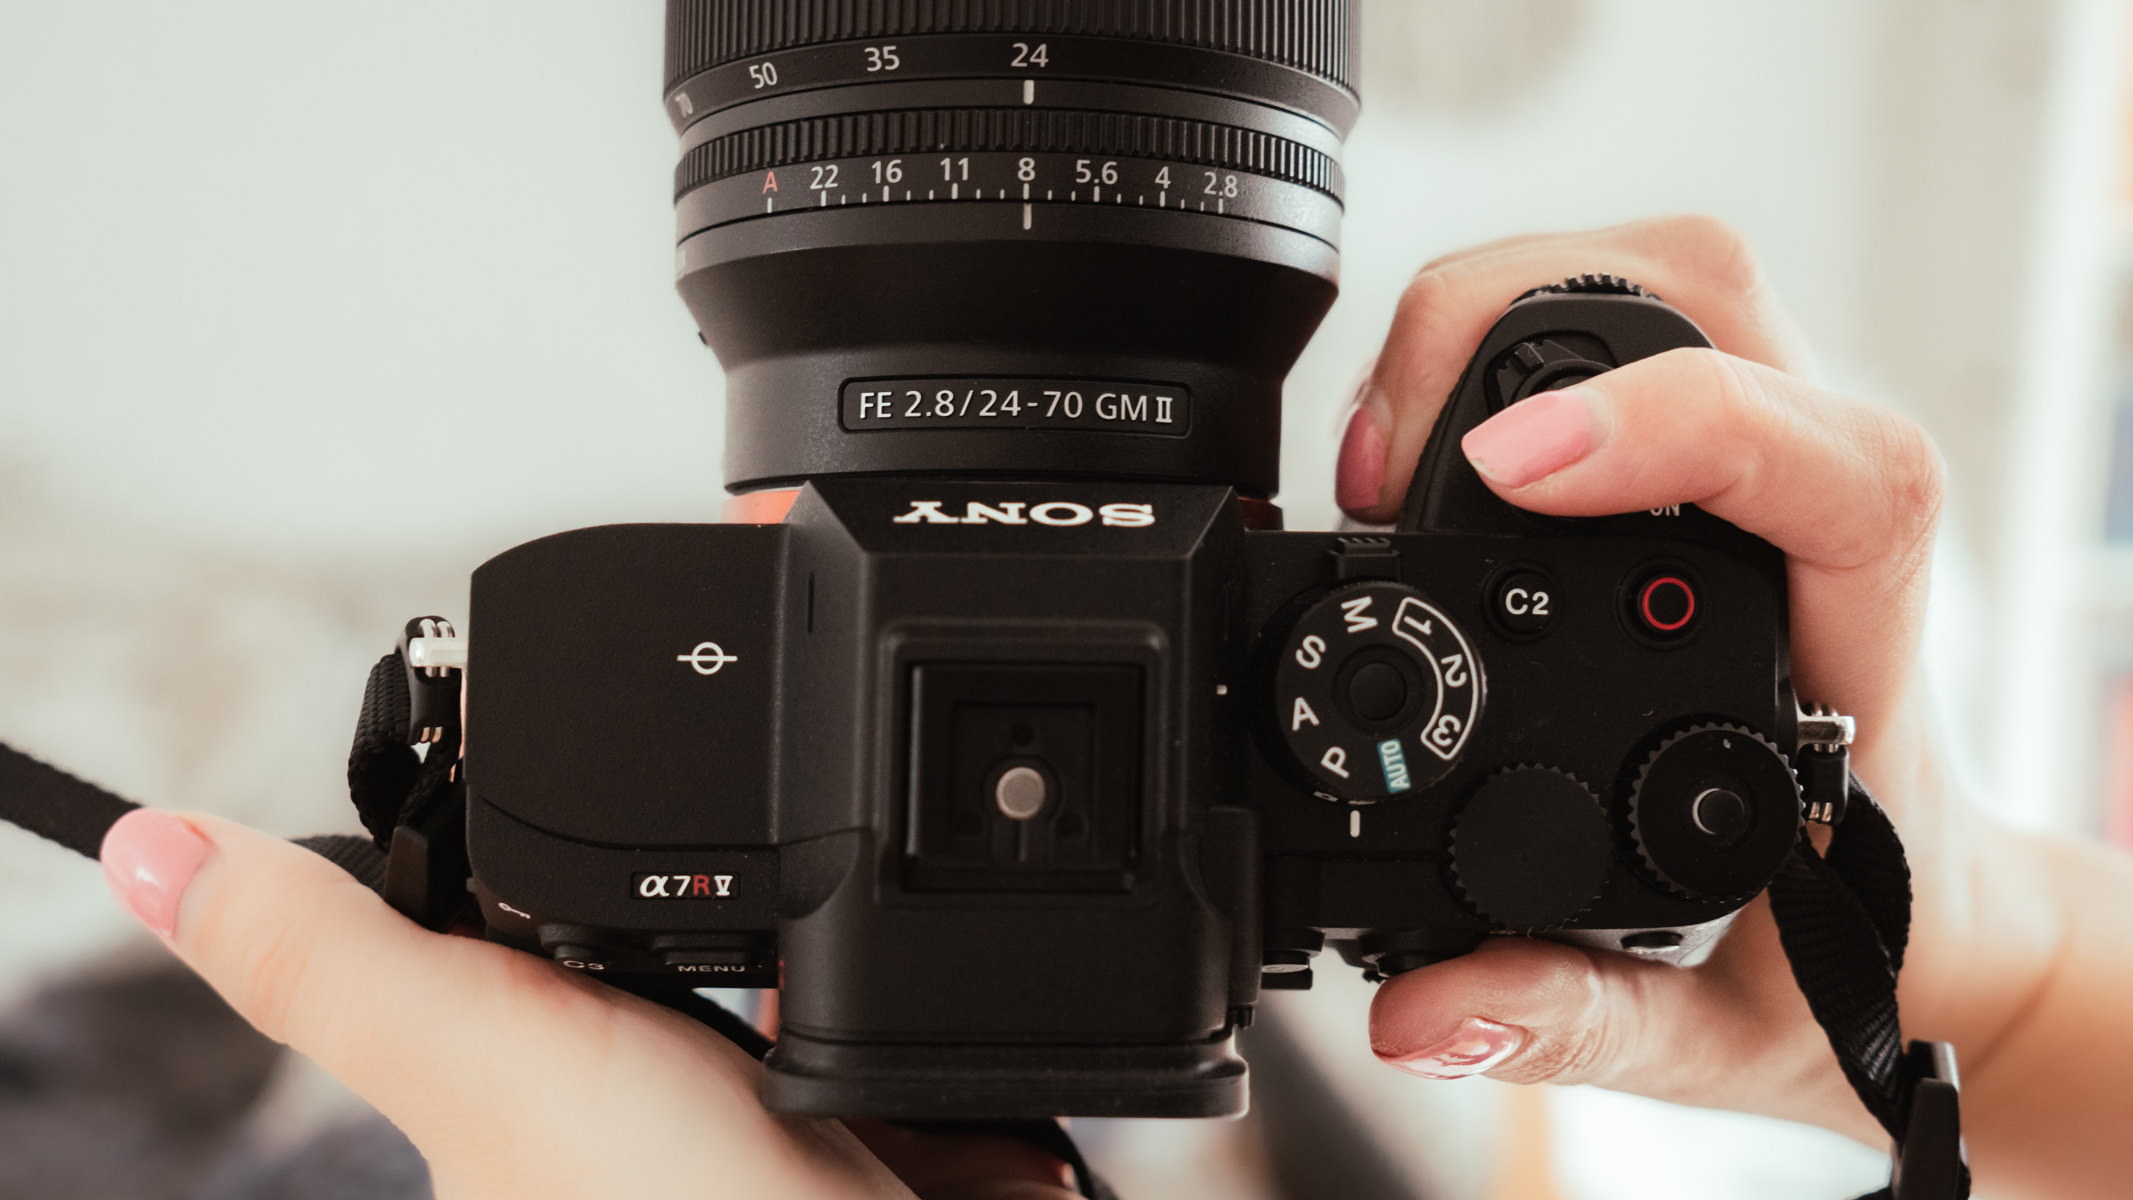
First things first, set your camera to Manual (M) mode. This hands you the control over the shutter speed, aperture and ISO instead of letting the camera take a guess in the darkness. Understanding the exposure triangle is important here, as you can’t rely on any of the camera’s auto modes for astrophotography. Knowing how to balance your settings will give you the best chance at getting the correct exposure.
You can, however, leave your white balance on auto for now, as you can tweak it later during editing. Set your drive mode to single shot or use the timer if you don’t have a remote shutter release — this will eliminate any slight movements from pressing the shutter button. This is also a good time to turn off your image stabilization.
Shooting in RAW
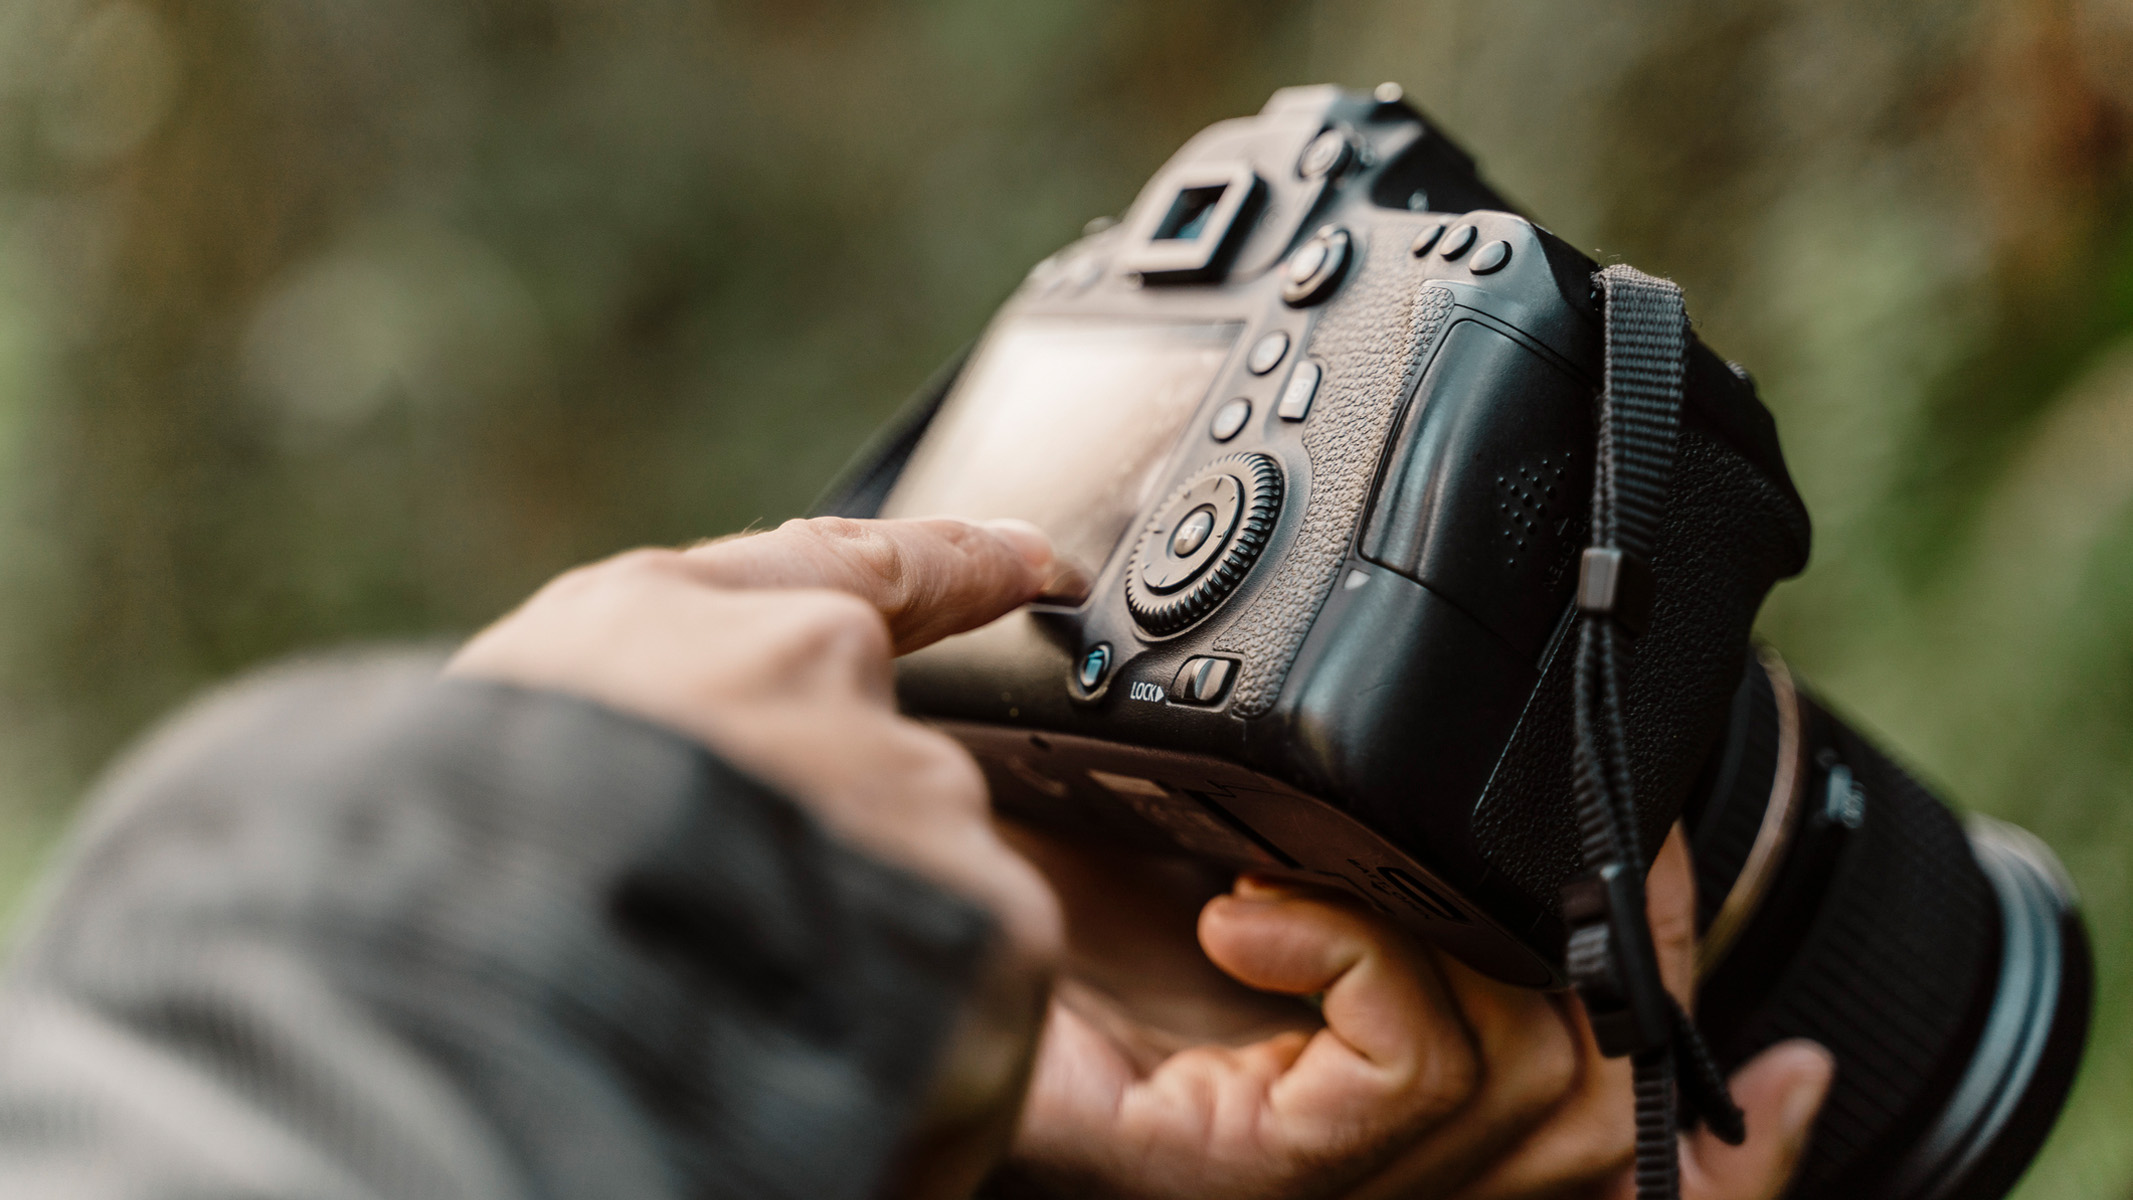
Then, make sure you’re shooting in RAW. RAW files capture far more detail, color and dynamic range than JPEG, giving you room to make more adjustments later in editing. RAW also makes advanced techniques, like image stacking, much more effective. JPEGS might look fine at a first glance, but they squash a lot of the precious data and lock in settings you might want to change later. Shooting RAW is like keeping all the original ingredients for a recipe, whereas JPEG is like using a packet mix.
Aperture
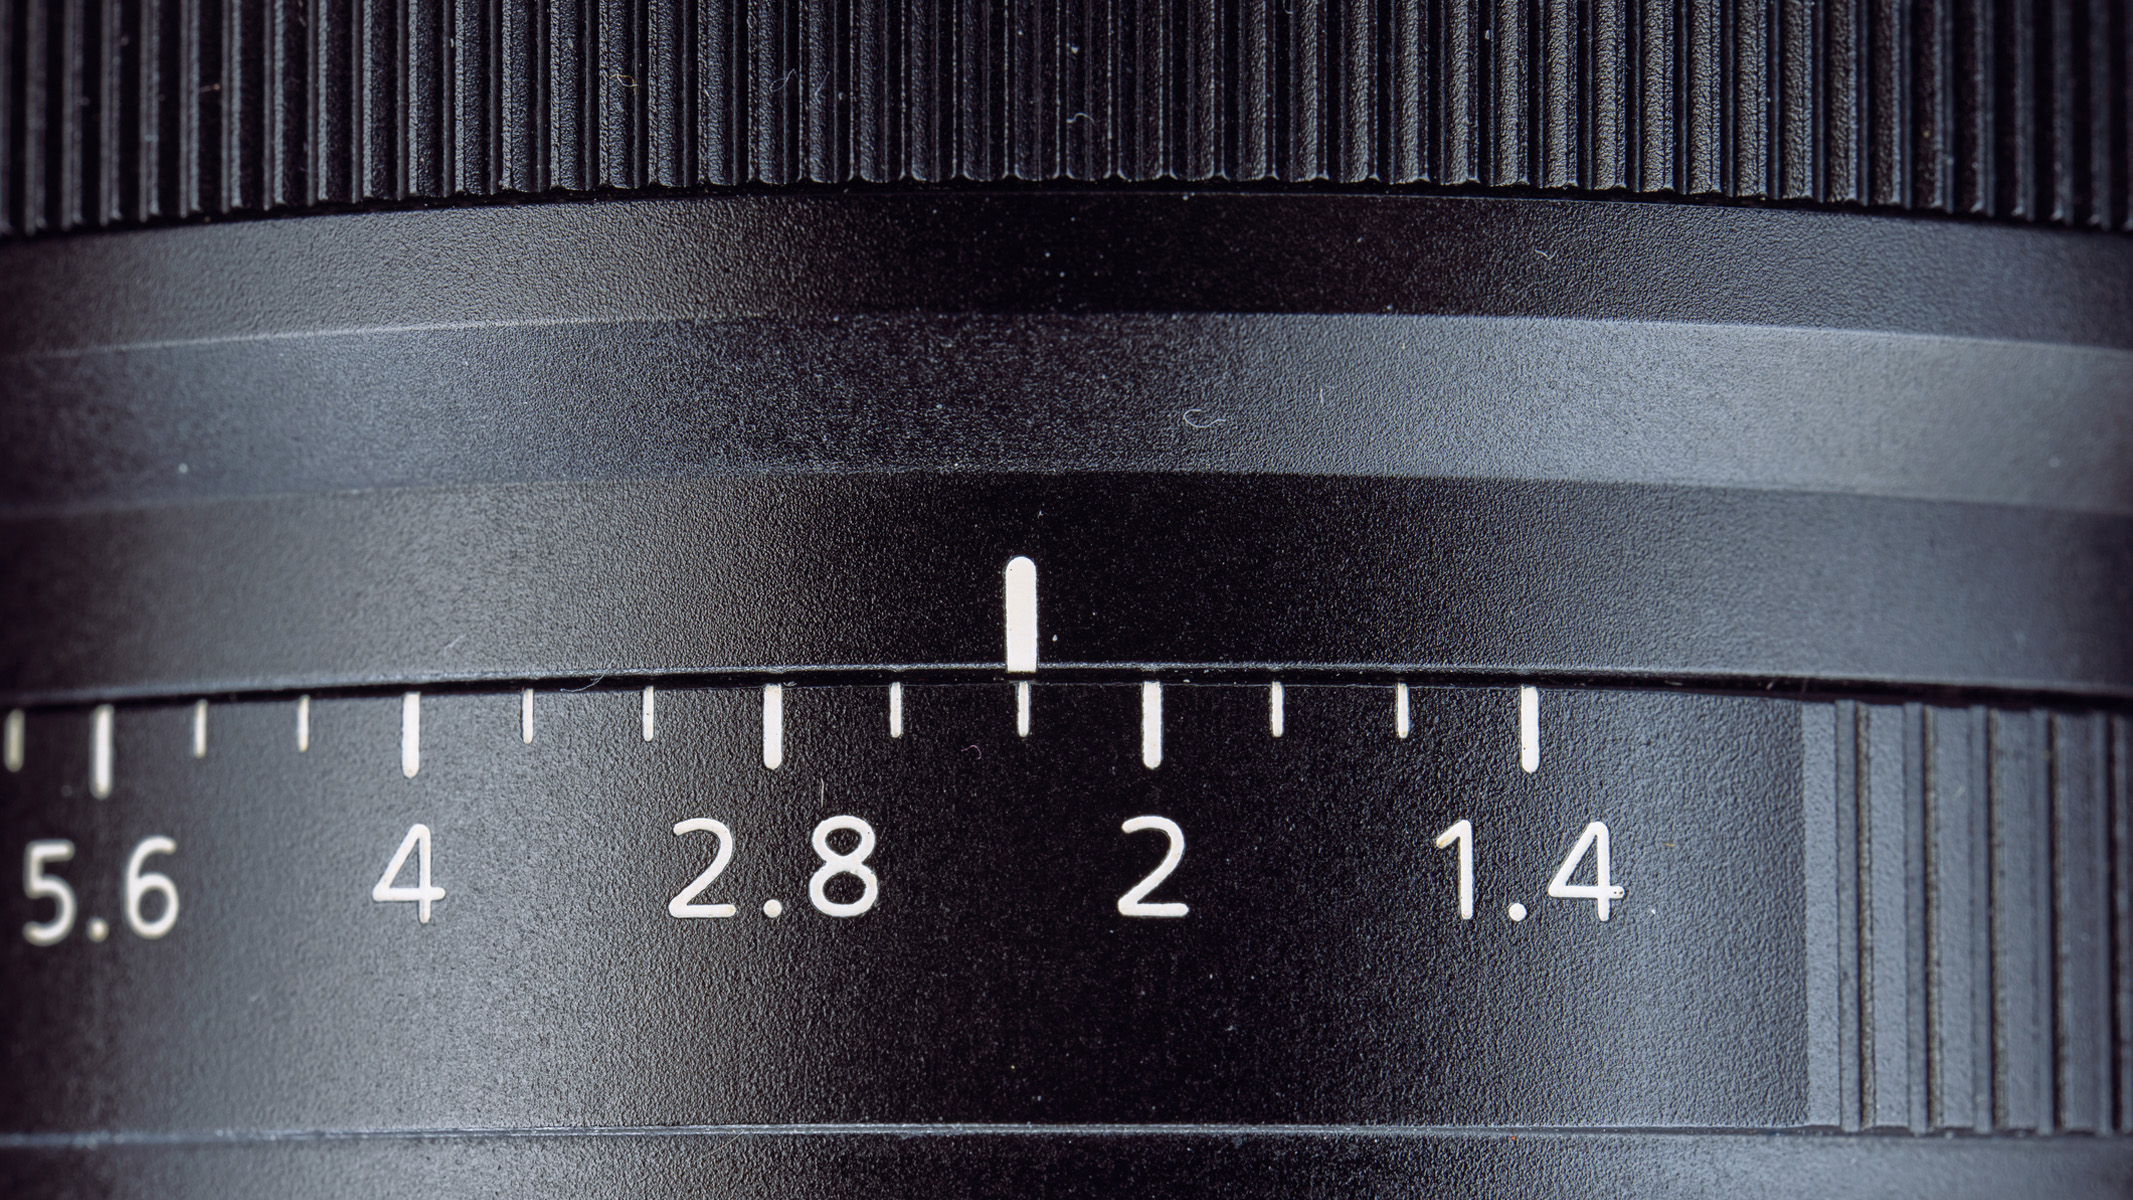
Aperture is an easy one. As the light is scarce, the rule of thumb is to set your aperture as wide open as possible — f/2.8, f/1.8 or even f/1.4 in some cases. This lets more starlight in, giving you brighter images without having to crank the ISO too high. Prime lenses are preferred for astrophotography, as they typically have a wider maximum aperture than zoom lenses. We’d recommend not going higher than f/2.8, if possible.
That said, some lenses actually perform best one or two stops above their widest possible aperture. Once you get more confident with your settings, take a few test shots at different apertures to compare them to find the lens' sweet spot. Often, stopping down the aperture a touch will eliminate vignetting and some slight coma in the corners of the image.
Get the world’s most fascinating discoveries delivered straight to your inbox.
Manual focus
Why focus now? Getting your focus nailed now means you can fine-tune the exposure afterwards without having to touch the lens again. If you waited until after you set your shutter speed and ISO, you’d risk having to redo those adjustments if you changed the aperture later. It's not the end of the world, but it'll save you a little time.
On most cameras, autofocus doesn't know what to do in the dark, so you need to use manual on the lens as well as the camera. If the screen is too dark, your shutter speed and ISO might still have the same settings from a previous shoot. Just temporarily set a slower shutter speed and/or raise the ISO so the stars appear on your LCD screen. This is only to help you see what you’re focusing on; you’ll adjust these for your actual exposure in a moment.
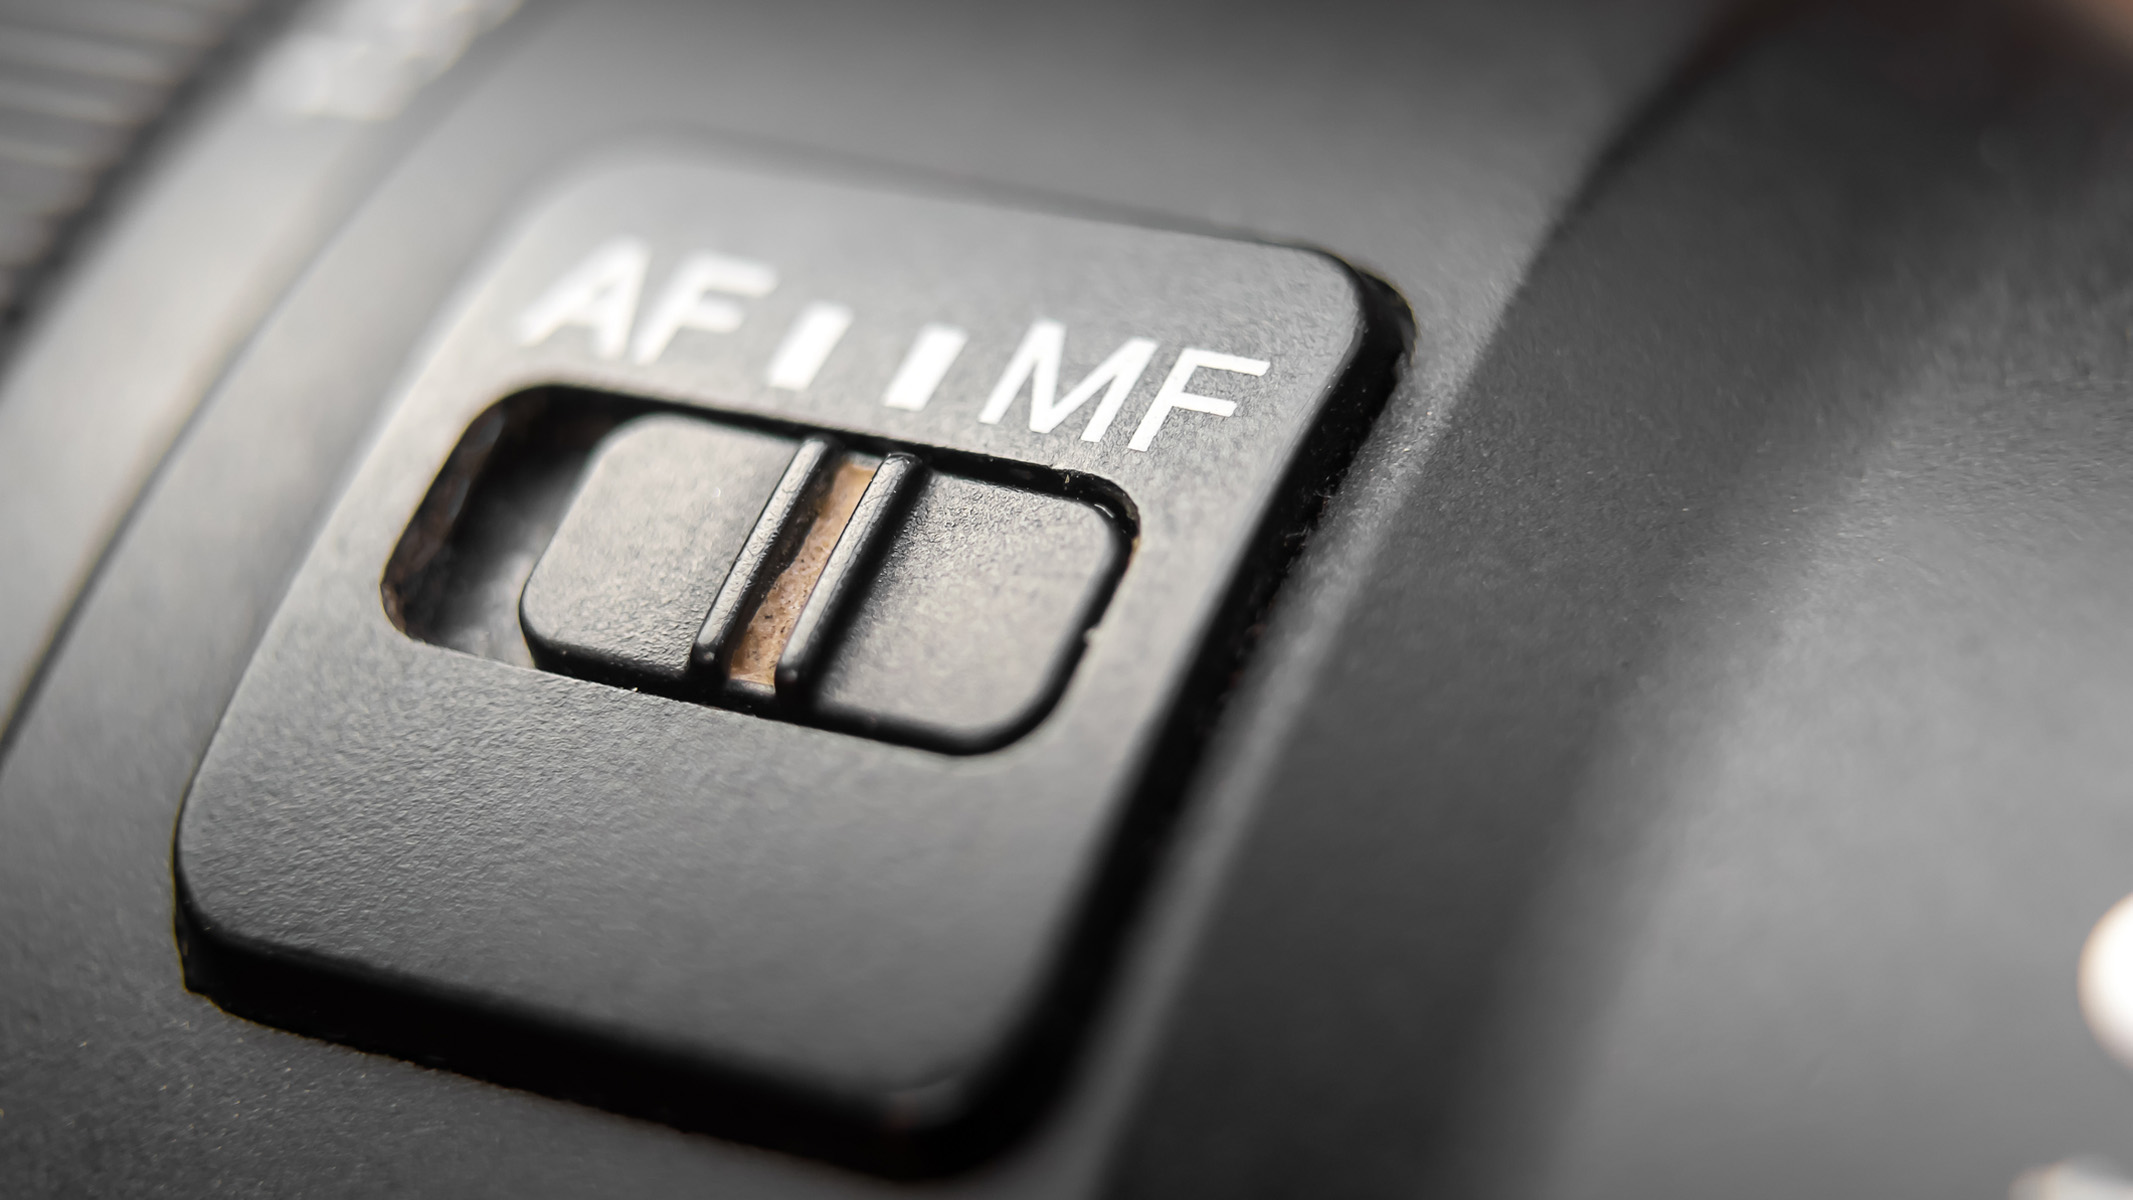
Use the switch on the lens barrel to select manual focus (MF) and find the brightest star you can. Once you can see a star clearly, slowly turn the focus ring until the star becomes the smallest, sharpest point of light. The infinity mark gives you a good idea of where the right focus point is, but don’t trust it entirely. Some lenses have a focus lock button to prevent any accidental knocks that could ruin the focus, so lock the focus to ensure your stars stay sharp.
Shutter speed
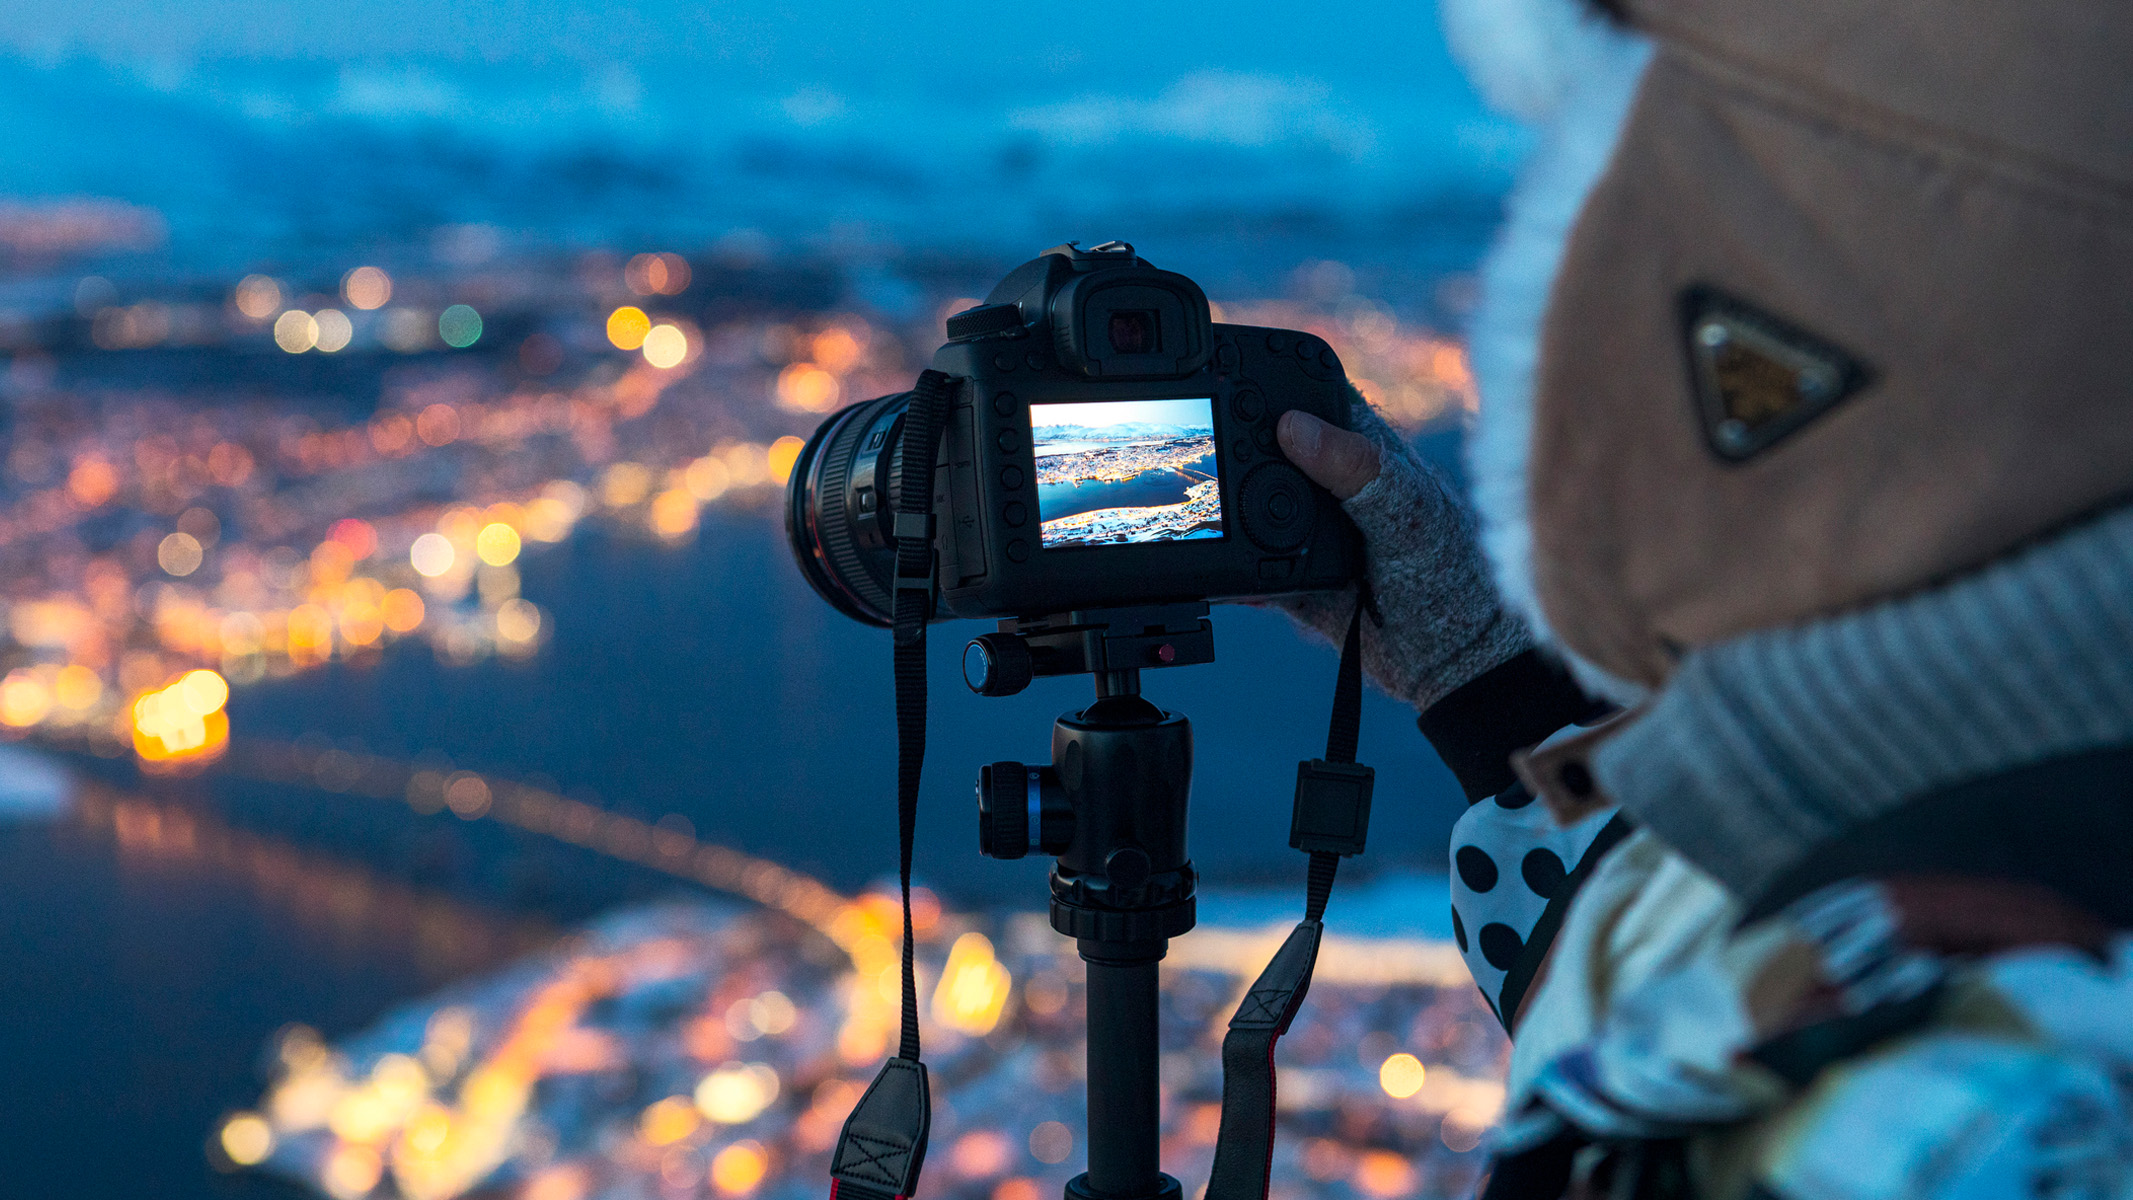
Once your focus is set, you can set your shutter speed. Although the stars look still to the naked eye, the Earth’s rotation will cause the stars to turn into little streaks if your shutter speed is too slow.
To work out the best shutter speed, divide 500 by your focal length (in full frame terms) and you’ll get the maximum number of seconds you can use before the stars start to trail. Once you’ve set the shutter speed, take a test shot and zoom in to ensure the stars aren’t trailing, and reduce the shutter speed if necessary.
ISO
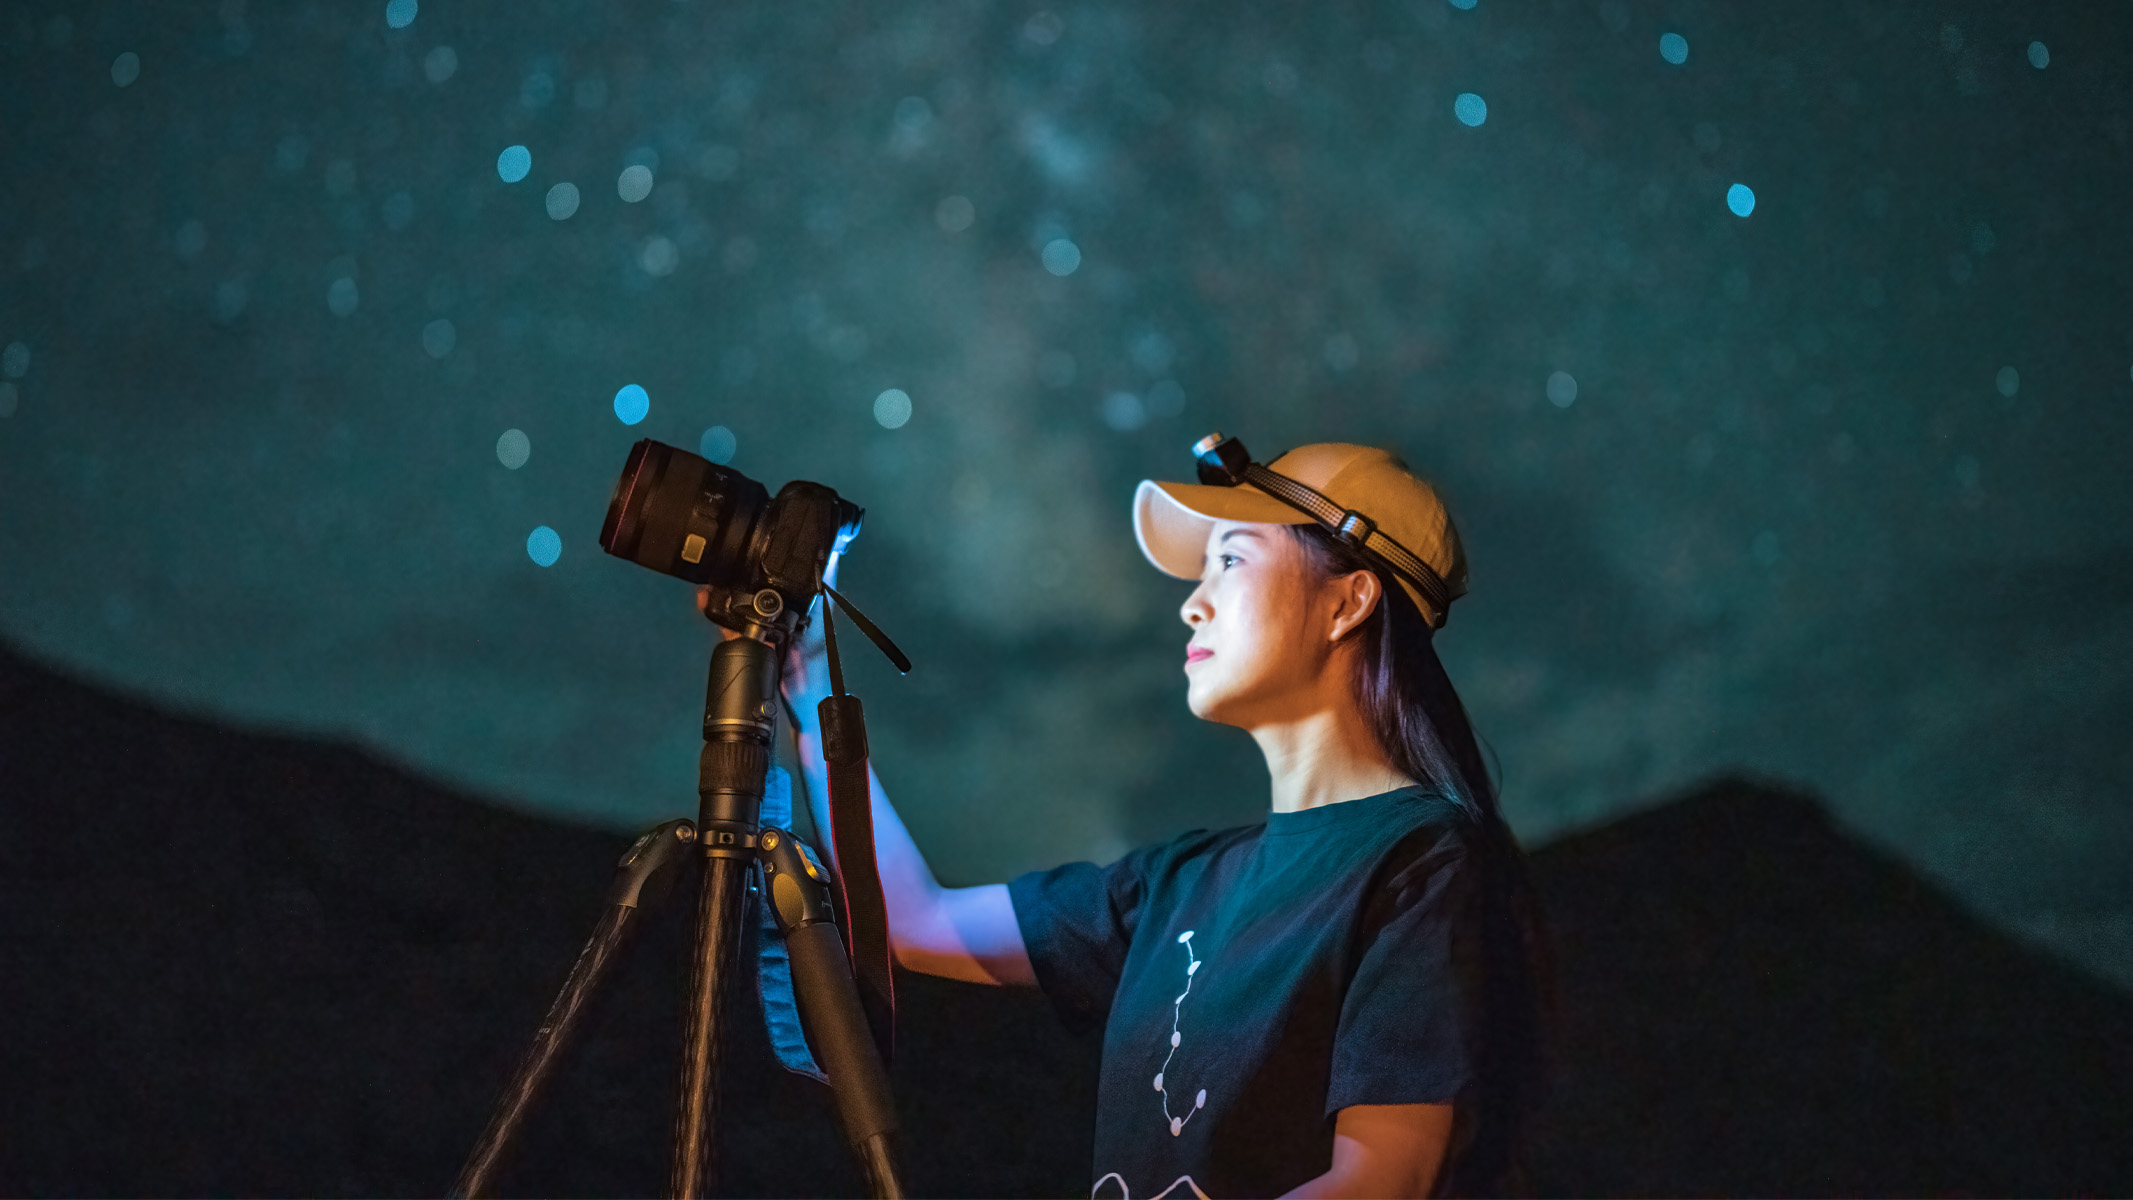
Think of ISO as a light amplifier. After you’ve dialled in your other settings, turn up your ISO until your shots show a bright enough sky without looking overexposed. On most modern full-frame cameras, this will be somewhere between the 1,600 to 6,400 range. This will also be dependent on how much ambient light there is from surrounding areas like cities and towns, as well as the light from the moon.
If your ISO is too low, the sky will look dull and murky, but if it’s too high, it’ll be too noisy. We recommend finding the ‘sweet spot’ of your camera before you even head out on your shoot, so you’ll have a good idea of where your camera performs best. To do this, take a set of test shots in the dark — even in your backyard — with different ISO values and compare them on your computer to see which looks best.
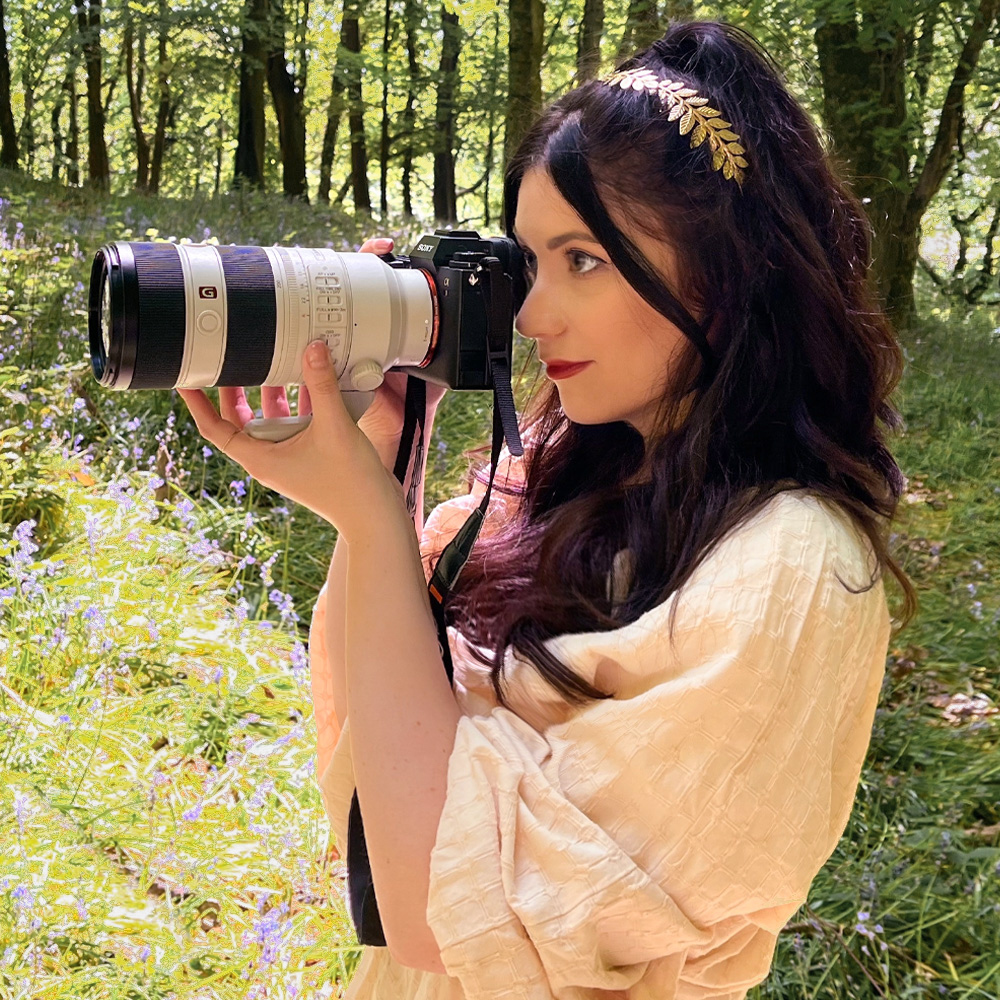
Kimberley Lane, E-commerce writer for Live Science, has tested a wide range of optical equipment, reviewing camera gear from Sony, Canon, OM System and more. With over 6 years of photography experience, her skills span across landscape and seascape photography, wildlife, astrophotography and portrait work. Her photos have been featured in a number of national magazines, including Digital Camera World and Cosmopolitan. She has also contributed to our sister site Space.com and Tech Radar, and she regularly uses binoculars and telescopes to stargaze in the dark skies of South Wales.
You must confirm your public display name before commenting
Please logout and then login again, you will then be prompted to enter your display name.
 Live Science Plus


