Science Experiments for Kids
Get the world’s most fascinating discoveries delivered straight to your inbox.
You are now subscribed
Your newsletter sign-up was successful
Want to add more newsletters?

Delivered Daily
Daily Newsletter
Sign up for the latest discoveries, groundbreaking research and fascinating breakthroughs that impact you and the wider world direct to your inbox.

Once a week
Life's Little Mysteries
Feed your curiosity with an exclusive mystery every week, solved with science and delivered direct to your inbox before it's seen anywhere else.

Once a week
How It Works
Sign up to our free science & technology newsletter for your weekly fix of fascinating articles, quick quizzes, amazing images, and more

Delivered daily
Space.com Newsletter
Breaking space news, the latest updates on rocket launches, skywatching events and more!

Once a month
Watch This Space
Sign up to our monthly entertainment newsletter to keep up with all our coverage of the latest sci-fi and space movies, tv shows, games and books.

Once a week
Night Sky This Week
Discover this week's must-see night sky events, moon phases, and stunning astrophotos. Sign up for our skywatching newsletter and explore the universe with us!
Join the club
Get full access to premium articles, exclusive features and a growing list of member rewards.
Children are natural scientists. Their curiosity is boundless, and with a little supervision during these easy science experiments, even very young children can do “real science.”
Many parents and caregivers wish to encourage children to investigate the world, but are unsure about their own ability to introduce science skills. It doesn’t need to be hard! Participate and play with your child; it can be a lot of fun for both of you. They will often surprise you with their ideas, and you might end up learning just as much as they do!
A few tips
1. Encourage children to use their senses to observe objects and events around them and use words to describe their environment. Ask them to describe sounds, textures, smells and, when appropriate, taste as well as color, shape and size. This helps develop vocabulary and observational skills.
2. Ask open ended questions such as: “What is it doing? What do you think will happen? How has it changed? How are these things the same? How are they different?”
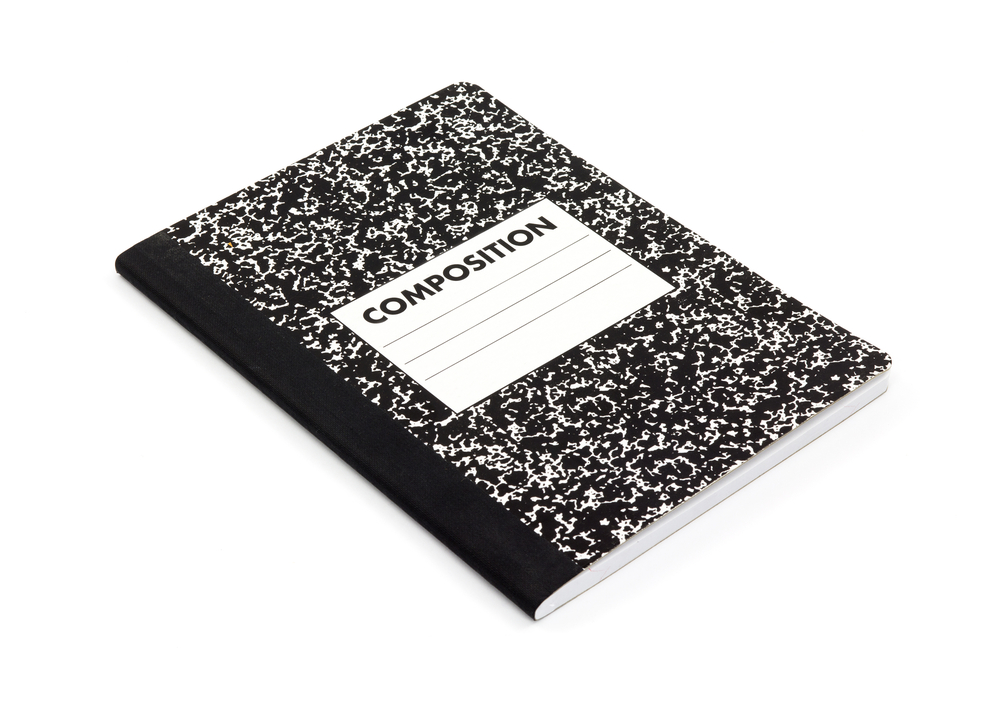
3. Help kids to keep a record of their science time. Take photos or ask kids to draw “before and after” pictures to paste in a special science notebook. (Get one of the bound composition-style notebooks — a lab notebook just like a “real scientist” would use!) Write down descriptions and observations for younger children or video them talking about the project. Encourage older children to record their own thoughts.
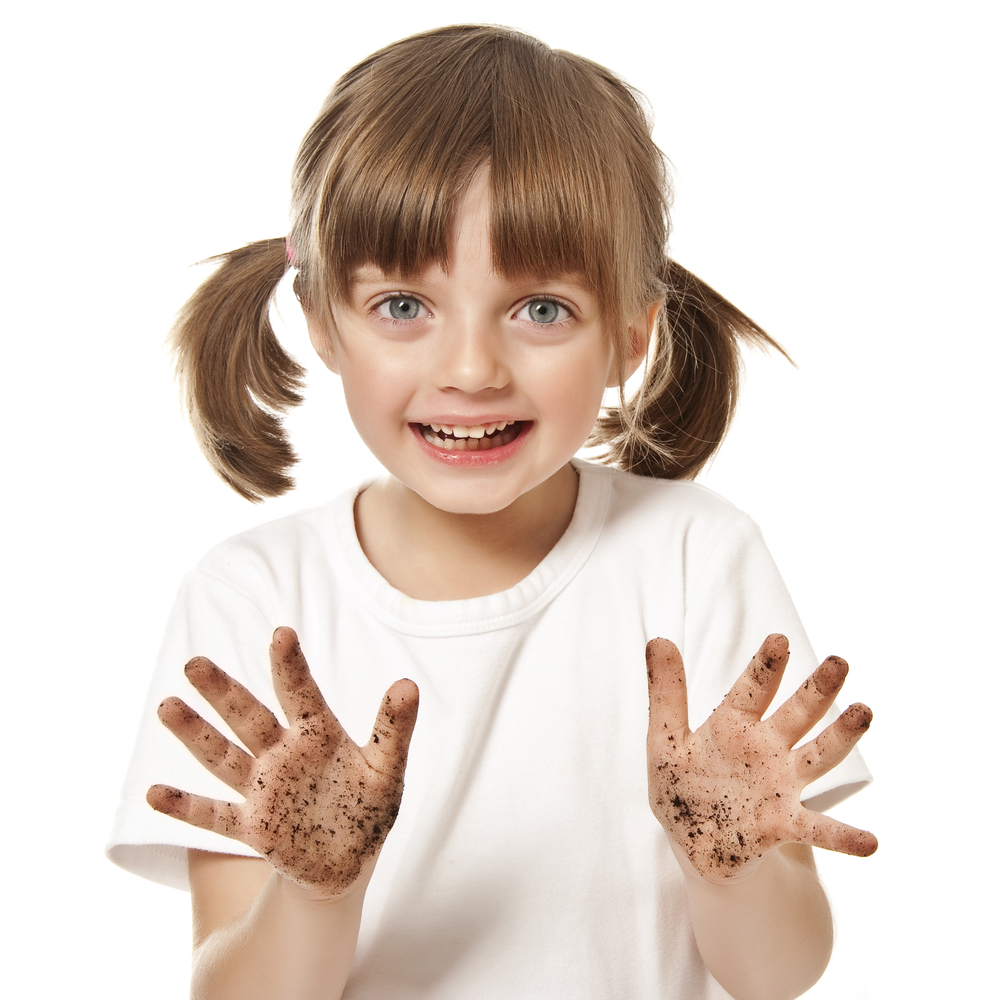
4. Dress them in old clothes. Young children learn by doing; science can get messy, but kids are washable!
Sounds of science
Here are a couple of easy experiments that involve children listening to the world around them.
Get the world’s most fascinating discoveries delivered straight to your inbox.
Sound Catalog
Ask the child to cover his or her eyes and tell you about every sound he or she hears. Keep a list.
Later ask him to draw or find pictures of the objects or animals he thinks made the sounds. Paste them in the science notebook.
Ask: “Which sounds were louder?” “Which were made by living things?”
Coat Hanger Radio
What you will need:
- Wire coat hangar
- Two pieces of string
1. Tie a piece of string to each end of the bottom of the coat hanger.
2. Have the child hold one string in each hand and lightly tap the coat hanger against objects made of different materials, such as a metal swing set and a tree trunk or wooden fence post. Ask: “What objects make louder sounds?” “What do you feel when you hold the string?” “What objects cause stronger vibrations?”
3. Older children can try wrapping a string around each index finger and putting their fingers in their ears when tapping the hanger against different objects. (Caution: don’t press fingers in too deep!) How does this change the sounds?
Mud Pie Science
These experiments are messy fun, and children learn about the properties of different substances.
What is dirt made of?
What you will need:
- Toy shovel or old spoon
- Zip-close plastic bags and labeling materials
- Old plastic bowls
- Science tray — an old cookie sheet with a rim works well
- Sheet of white paper and half a sheet of black paper. Tape the black over the bottom of the white sheet so that you have a piece of paper that is half-black and half-white.
- Optional: Magnifying glass
1. On your next walk outside with your child take along the toy shovel and several plastic bags. Help your child to collect dirt from several places around the neighborhood. Good spots to try are: your garden or back yard, silt from near a pond or creek, a sandy area such as a beach or sand box. Make sure to collect some dirt from around the base of a tree. You might also include some potting soil from the garden store.
2. Place each sample of dirt in a separate plastic bag. Have your child draw a simple symbol on a label to remind them where they collected the dirt. For example, a flower for the garden dirt or a wavy line for the creek. Stick the label on the plastic bag. Now they are keeping records like a real scientist!
3. Back at home put each dirt sample in a bowl. Ask the child to describe all the differences she can find between the dirt from different places.
4. Place the black and white papers in your science tray. Place a small spoonful of dirt from each area against the white and dark backgrounds and look for more differences. Use a magnifying glass for a closer look.
5. Ask your child questions such as: “What kind of dirt do you think is best for plants to grow in? “How is the dirt from under the tree the same as the potting soil?” “How is the garden dirt different from the sand?”
6. Visit a library and check out a book about soil or rocks.
Making mud bricks
What you will need:
- Dirt samples from previous activity
- Plastic ice cube tray
- Plastic pitcher for water
- Old plastic bowls and spoons
1. Allow your child to mix each dirt sample with water to make mud. Encourage him to compare the texture, color and other differences that adding water to each sample makes.
2. Show your child how to fill the wells of the ice cube tray with mud. Leave the tray in a sunny location for a day or so then show her how to get the dried mud out of the tray.
3. Ask questions such as: “What kind of mud made the best bricks?” “What didn’t work so well?” “What do you think would happen if you built a house out of mud bricks and it rained?” “What do you think you could mix with the mud to make stronger bricks?”
4. Help your child find pictures of homes built with adobe and other natural materials.
Related:
 Live Science Plus


