5 common mistakes beginner astrophotographers make — and how to avoid them
Avoid blurry stars and excessive noise — master these 5 common astrophotography mistakes to capture sharp, stunning night sky images every time.

Astrophotography has a habit of humbling even the most confident photographers. What looks like a perfect scene to the eye often turns into blurry stars or unwanted star trails. The sky is constantly moving, the light is faint and getting everything just right takes more care than most other types of photography.
Below are five of the most common mistakes beginners often make when photographing the night sky, and how to avoid them. Knowing these can save you time, frustration and wasted shoots. While technique is key, having the best astrophotography camera and astro lens will help you get the best shots possible.
1. Not nailing the focus
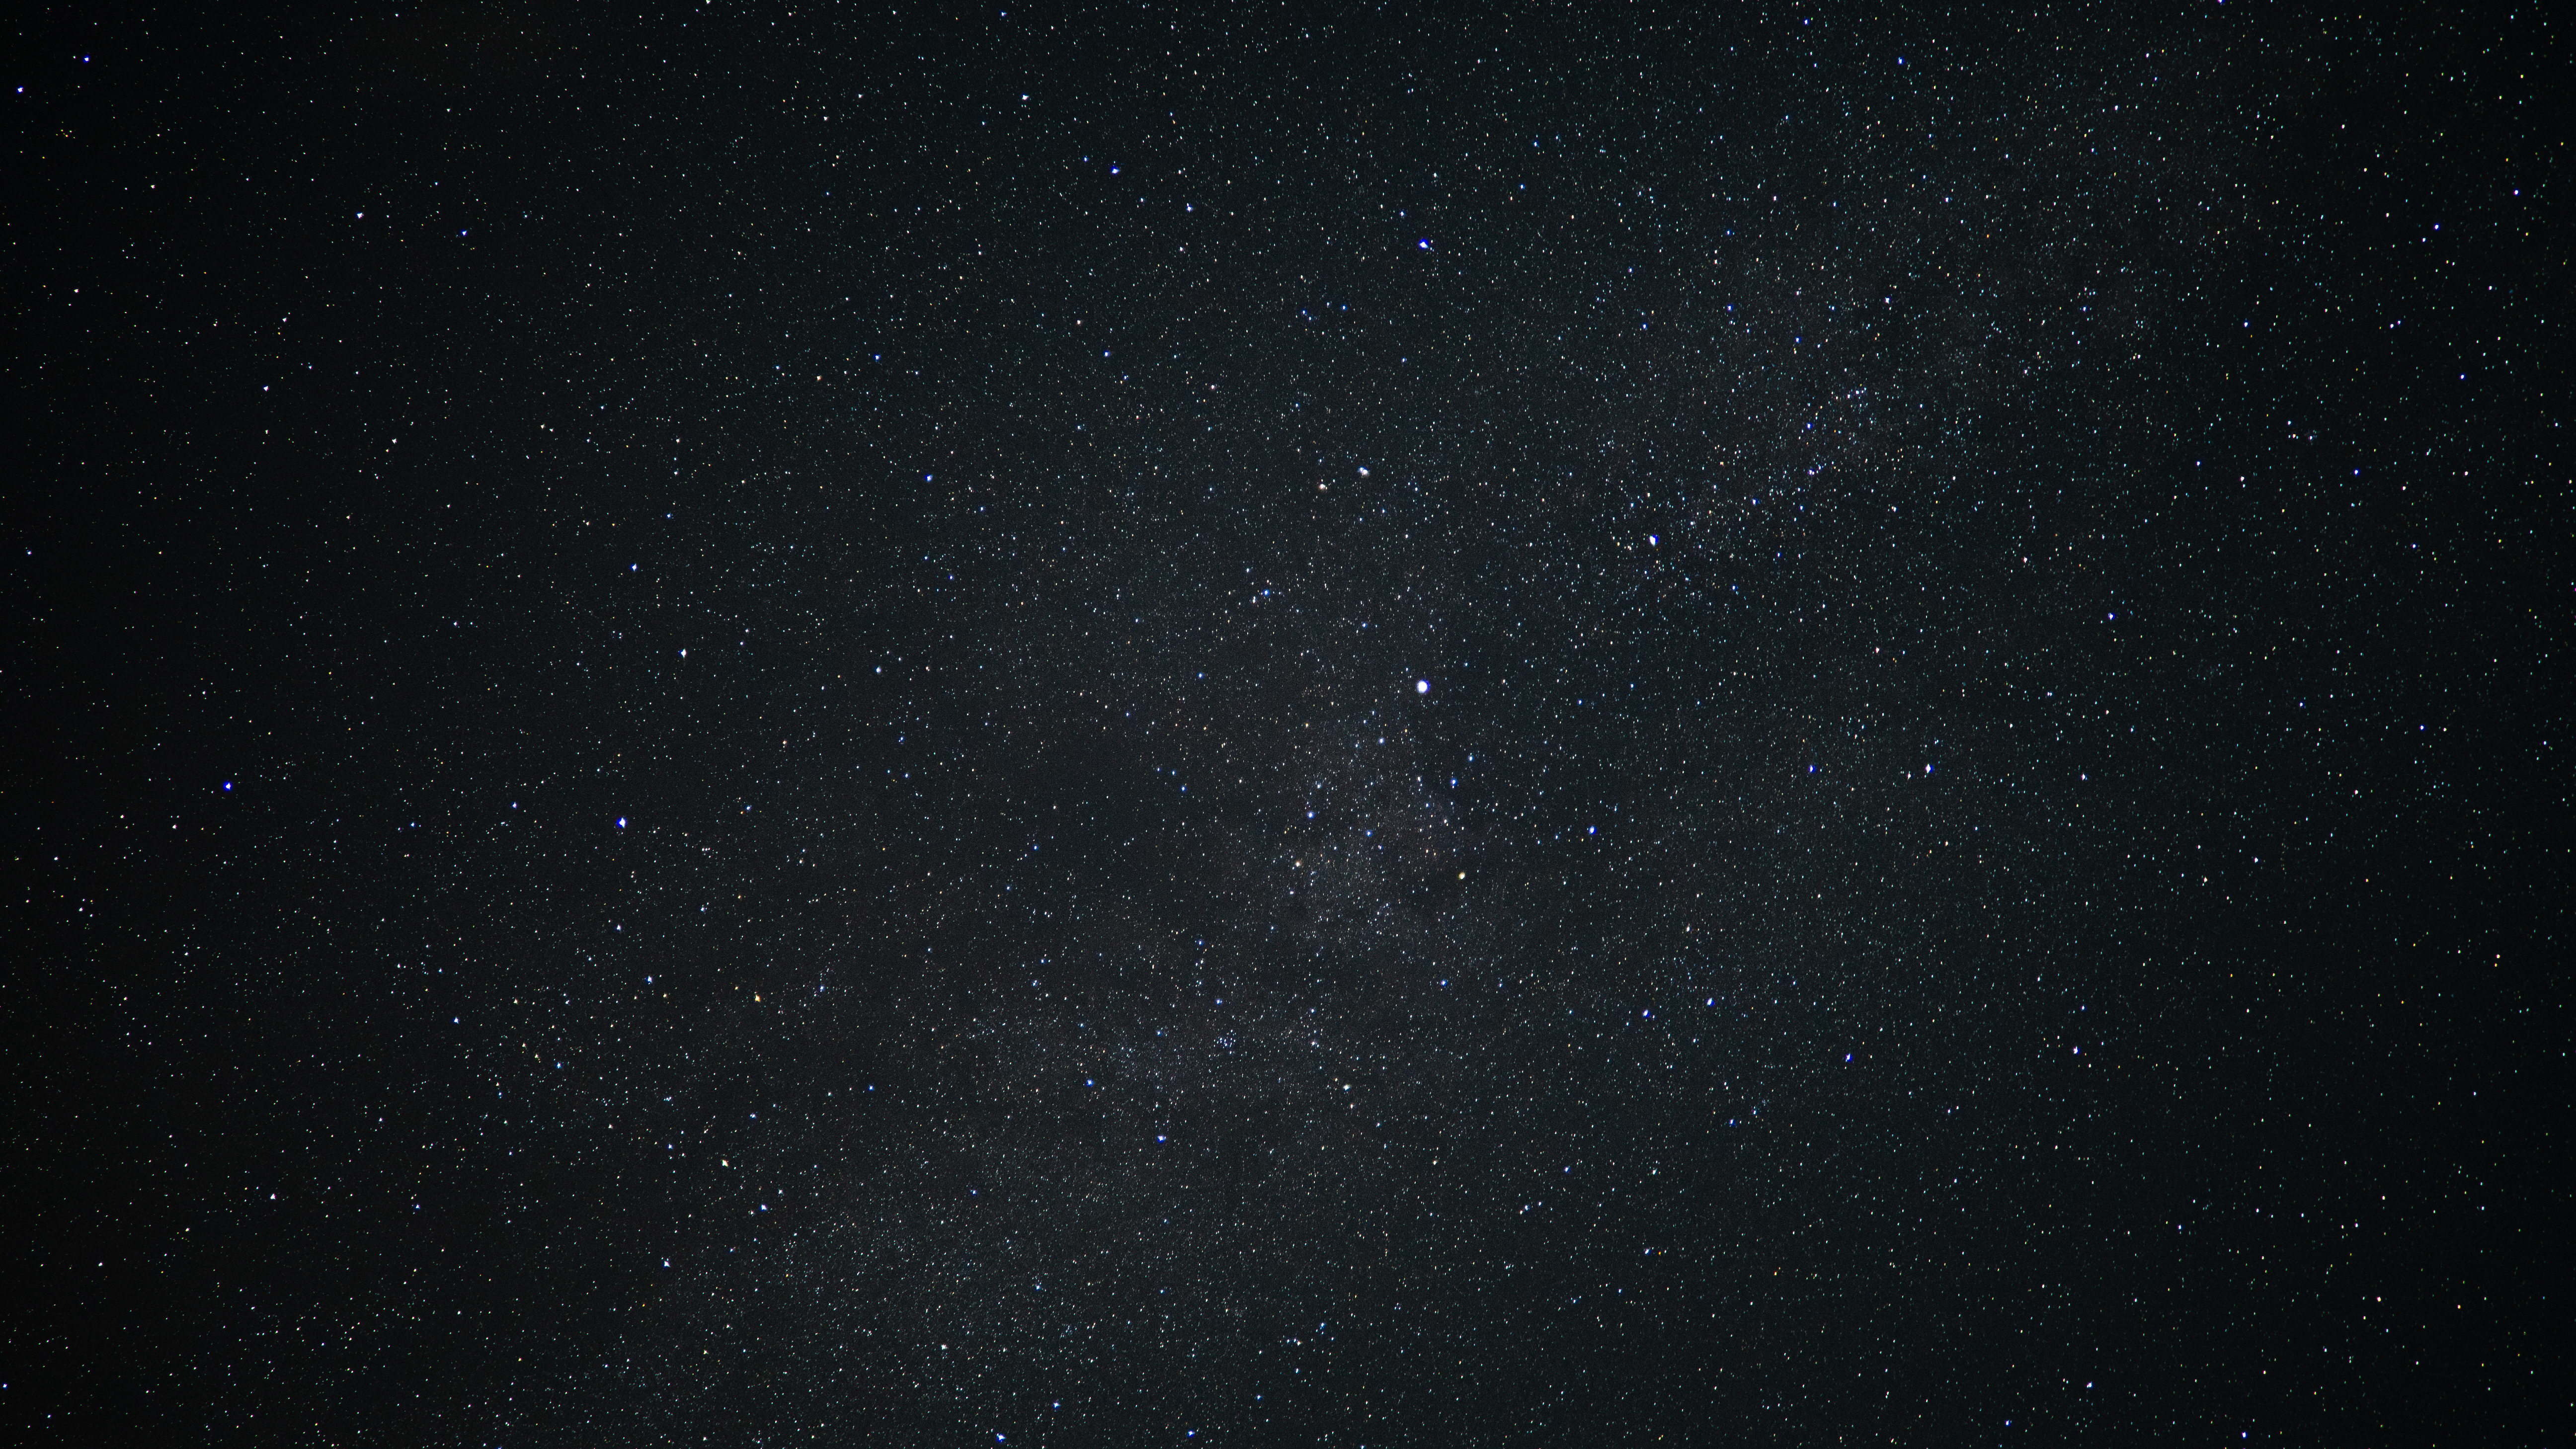
Nothing kills an astro shot faster than missing focus — and it’s happened to the best of us at one point or another. When you miss the focus, the stars won’t just look ‘soft’, they’ll look wrong. For sharp pinpoints, you need to focus at infinity, but that’s not always as simple as twisting the lens all the way — you still need to fine-tune your focus.
To focus to infinity, look at your LCD screen (or turn on live view) and magnify the brightest star in your frame. Gently adjust the focus ring until that star is at its smallest, most defined point. To make sure your focus is correct, take a test exposure and zoom in on the result to confirm. It does become easier the more you do it, so keep practicing.
Some newer cameras even feature Starry Sky Autofocus — we tested it out during our OM System OM-1 Mark II review and were dumbfounded by how well it worked. It’s always a good idea to get comfortable with manual focusing as a backup, but if you want sharp stars every time, OM System has your back.
2. Not using the correct shutter speed
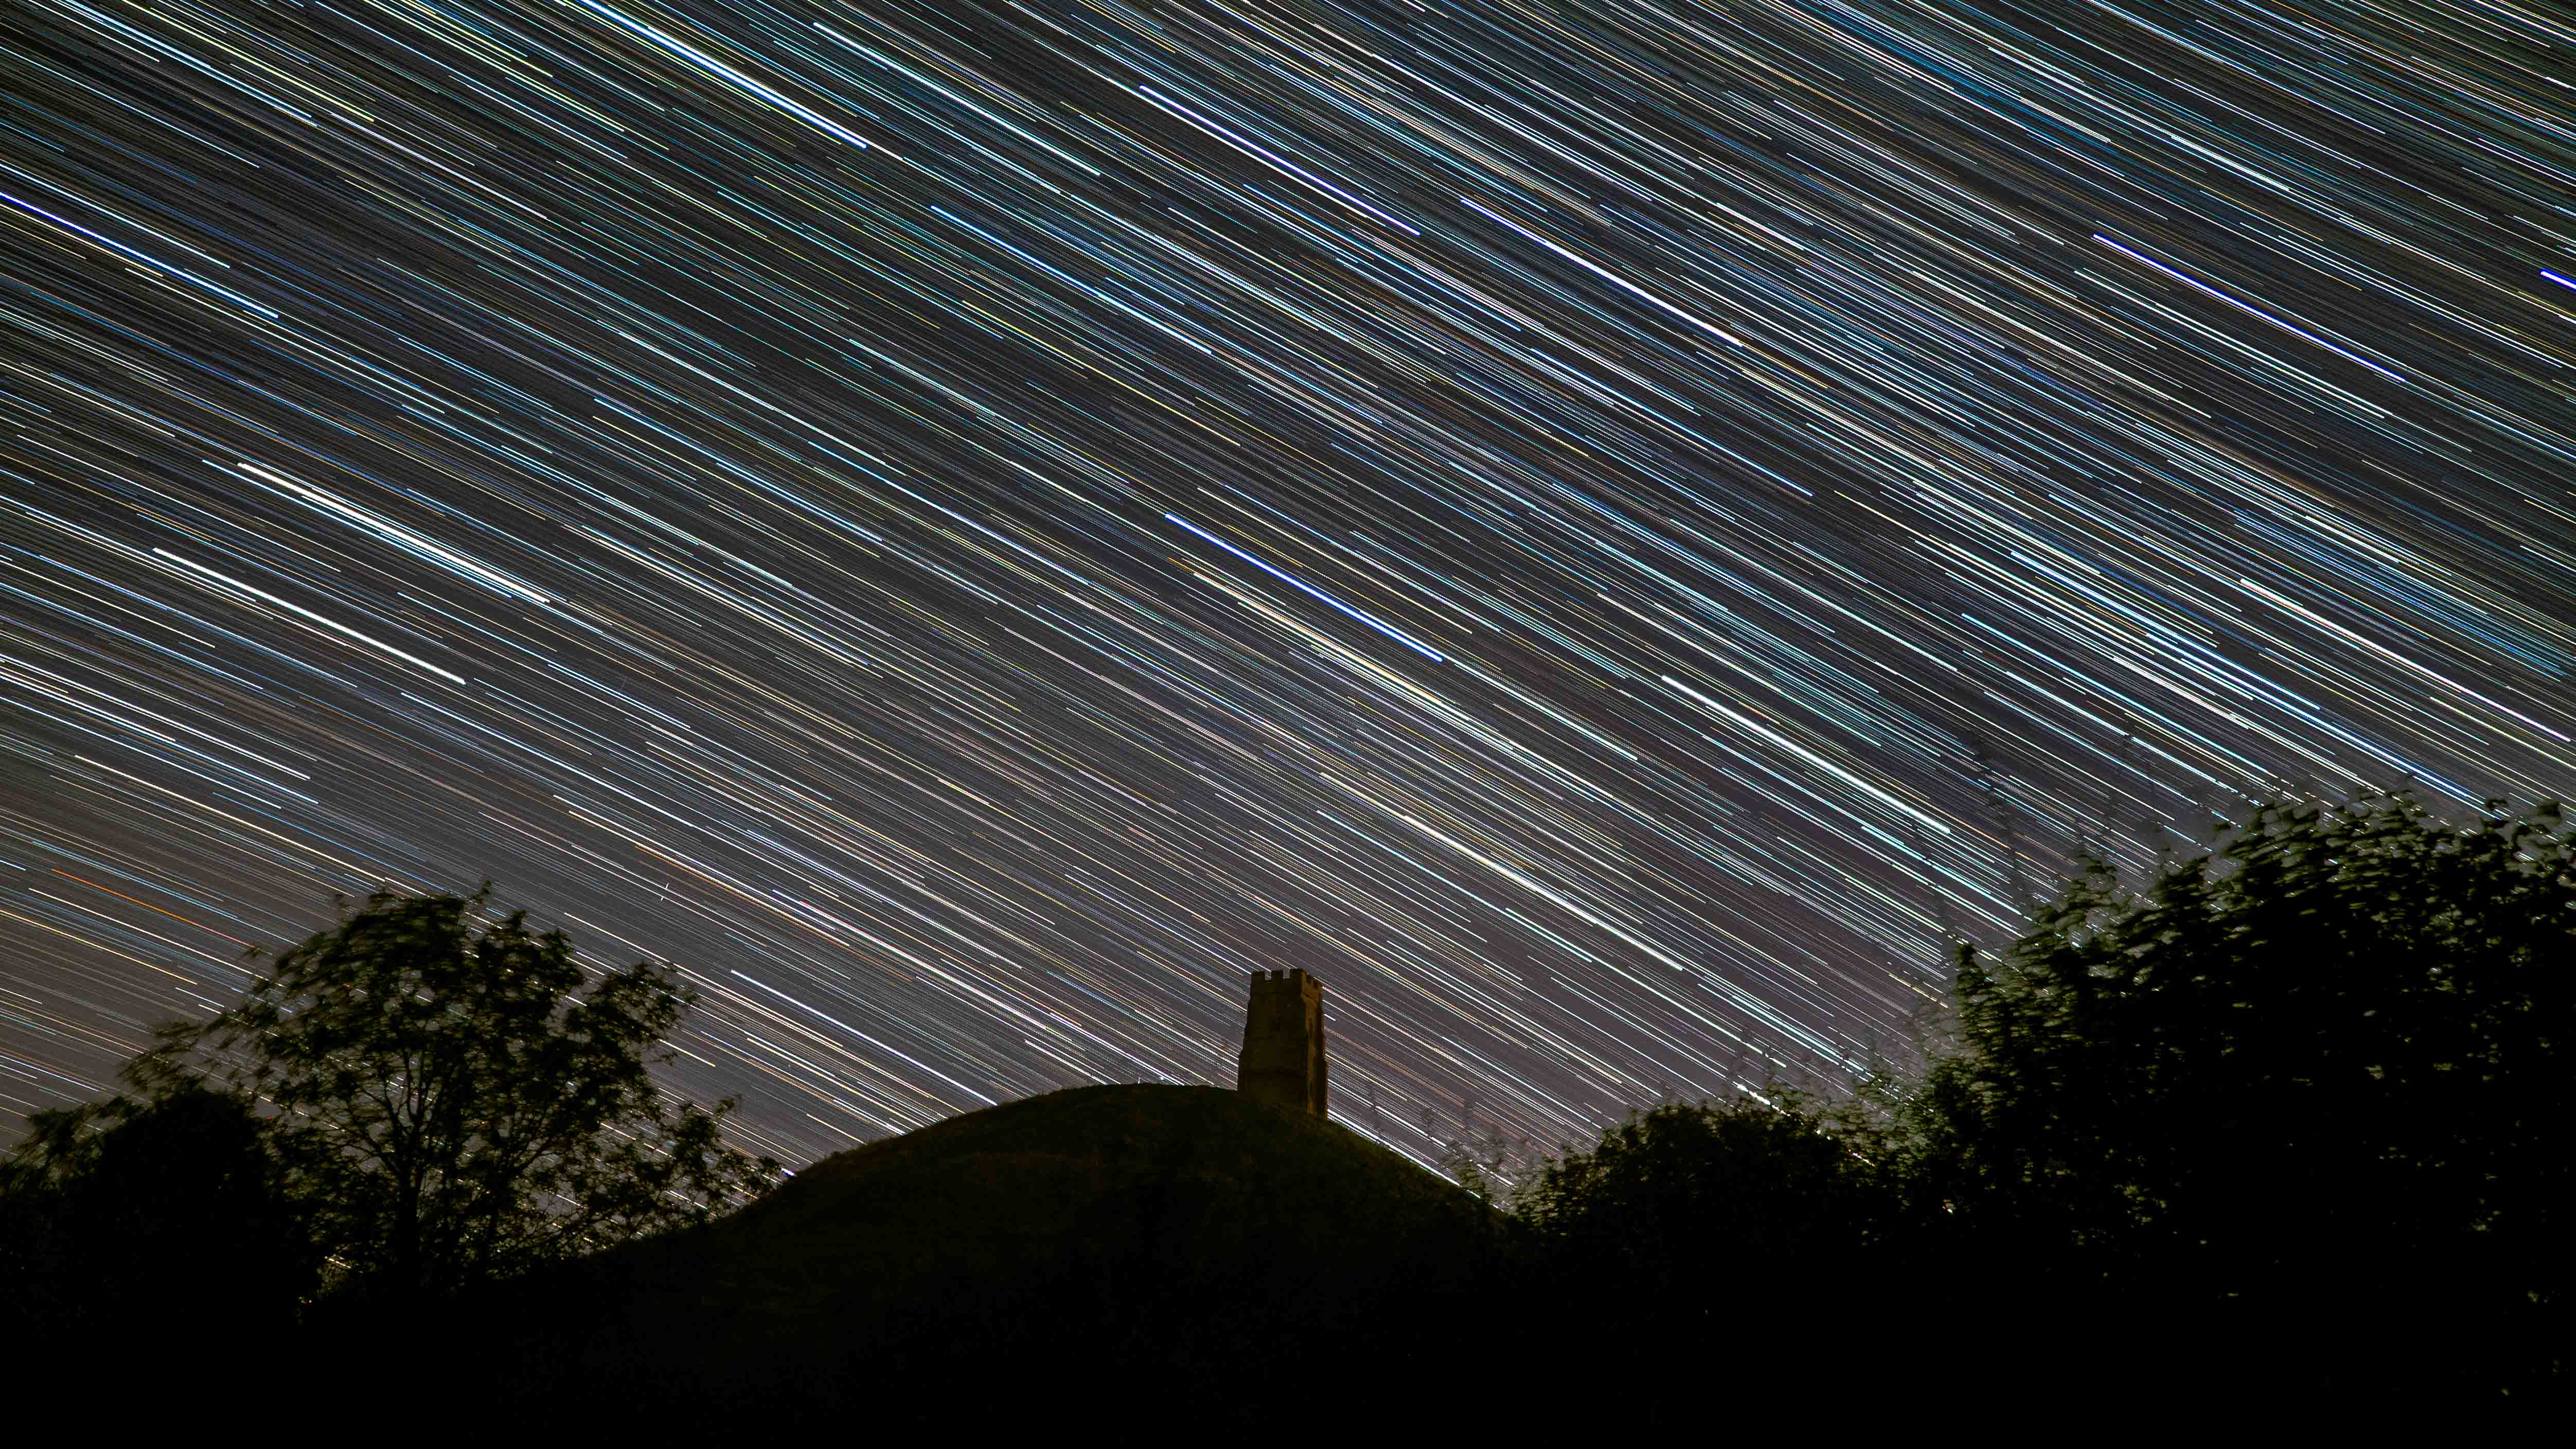
Shutter speed can also make or break your astro shots. Too short, and you’ll capture time, lifeless stars. Too long, and the stars will stretch into trails instead of staying sharp. The sweet spot depends on your focal length and the camera’s sensor size — this is where the 500 rule comes in.
For a full-frame camera, divide 500 by your lens’ focal length to get the maximum shutter speed. If you’re using a 20mm lens, 500 divided by 20 equals 25 seconds. For APS-C models, use 300 instead of 500, and if you’re using a Micro Four-Thirds, use 250.
Get the world’s most fascinating discoveries delivered straight to your inbox.
If you push past these limits, you’ll end up with unintentional star trails. If you go much shorter, you’ll end up having to boost your ISO to compensate, which adds image noise.
3. Not composing for the sky's movement
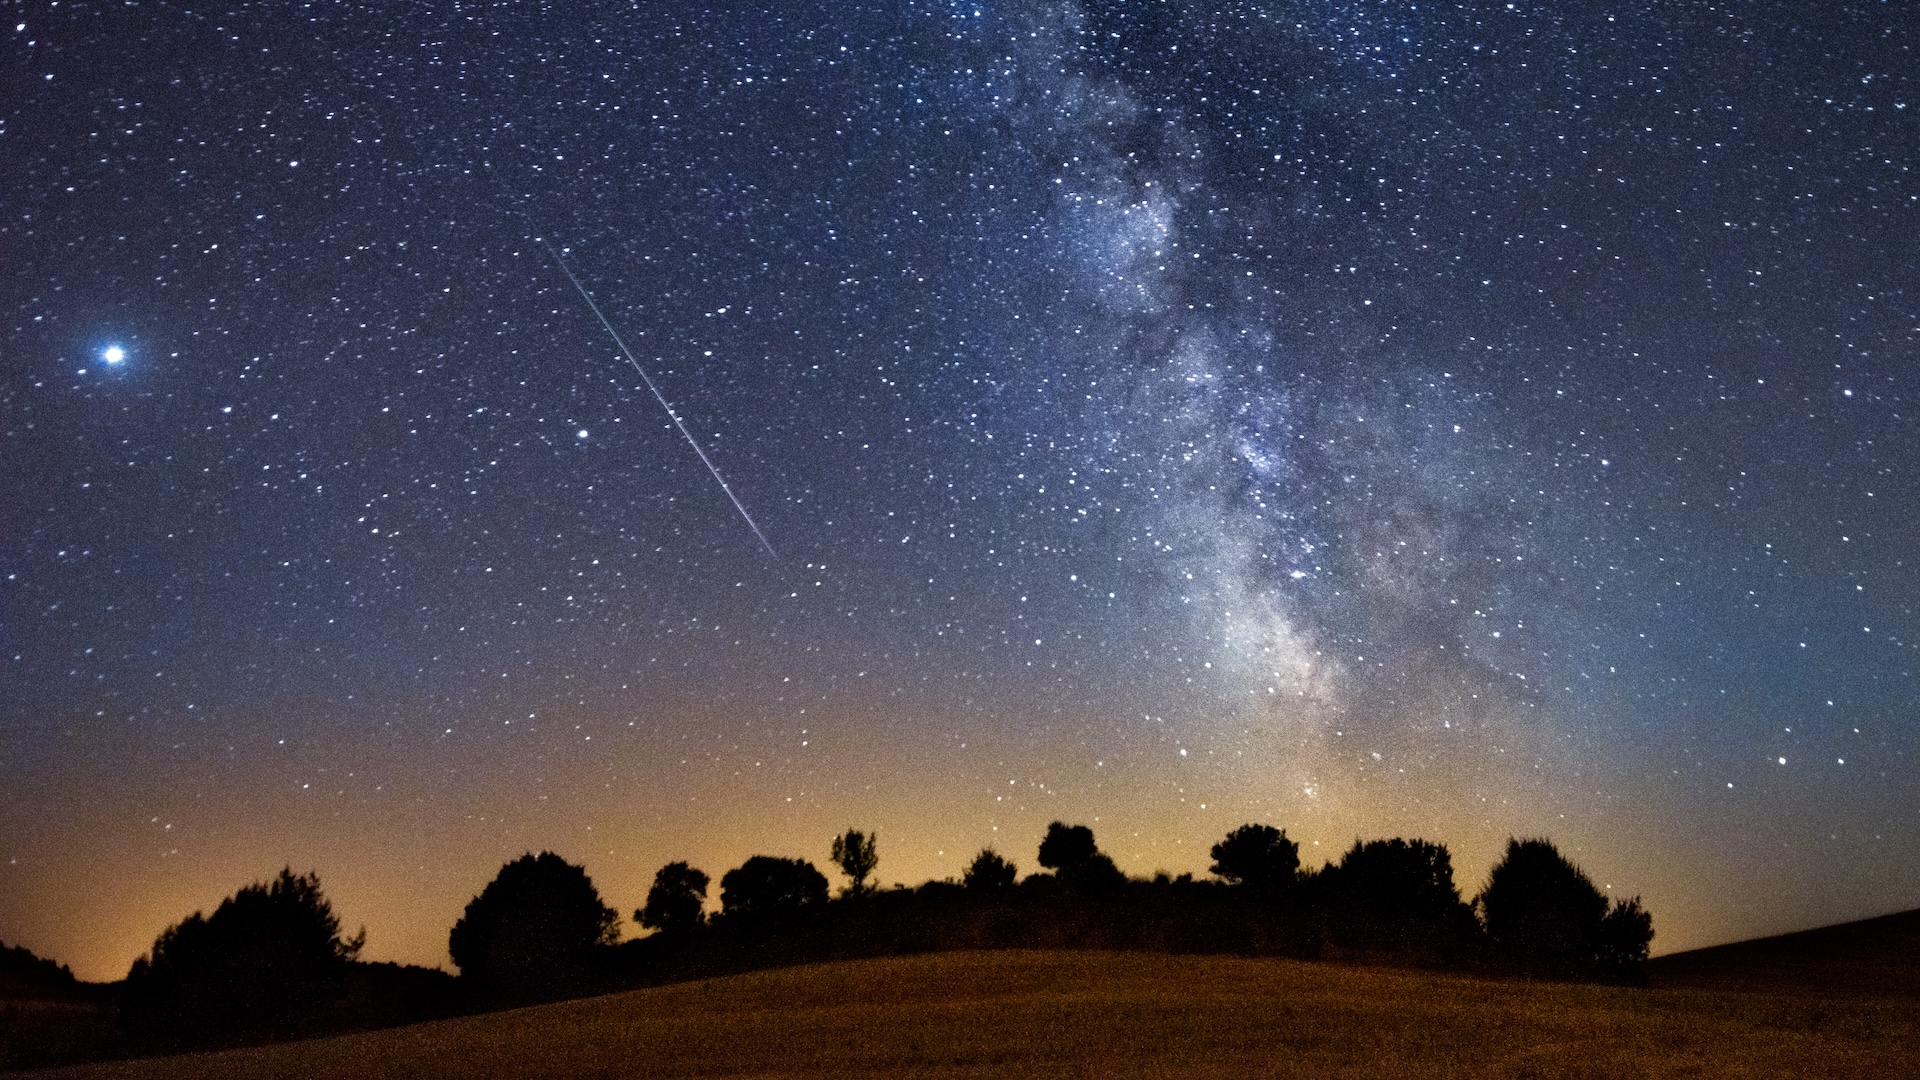
The night sky isn’t static; it’s constantly on the move, and if you don’t plan for that, your perfect composition can vanish before you’ve even set up your tripod. A bright section of the Milky Way might be right above that mountain ridge now, but 20 minutes later, it could have drifted out of frame. The same goes for the Moon.
Before you head out, use a free app to predict where your subject will be and when. Stellarium is a free app you can download on your phone that lets you fast-forward the night-sly for any date and location. Others, like PhotoPills or SkySafari, give similar tools with extra photography-focused features.
By planning in advance, you can position yourself so the Milky Way’s core arches exactly where you want it, or time a shot so the moon rises behind a landmark. You’ll also avoid the disappointment of setting up in the wrong place entirely.
4. Using ISO that is too high

Cranking up the ISO might seem like an easy way to brighten the stars, but in astrophotography, more isn’t always better. A higher ISO not only increases your camera’s sensitivity to light, it also boosts image noise that eats away at fine detail. Push it too far, and your beautiful Milky Way turns into a grainy mess that’s impossible to rescue in editing.
The trick is to find your camera’s ‘sweet spot’ — the ISO that gives enough brightness without drowning the image in noise. For many modern full frame cameras, that’s somewhere between ISO 1,600 and 3,200. The best way to know is to run a few test shots and compare results.
Once you’re a bit more advanced, you can experiment with shooting various calibration frames to combat noise and showcase more details in your images.
5. Not shooting in RAW
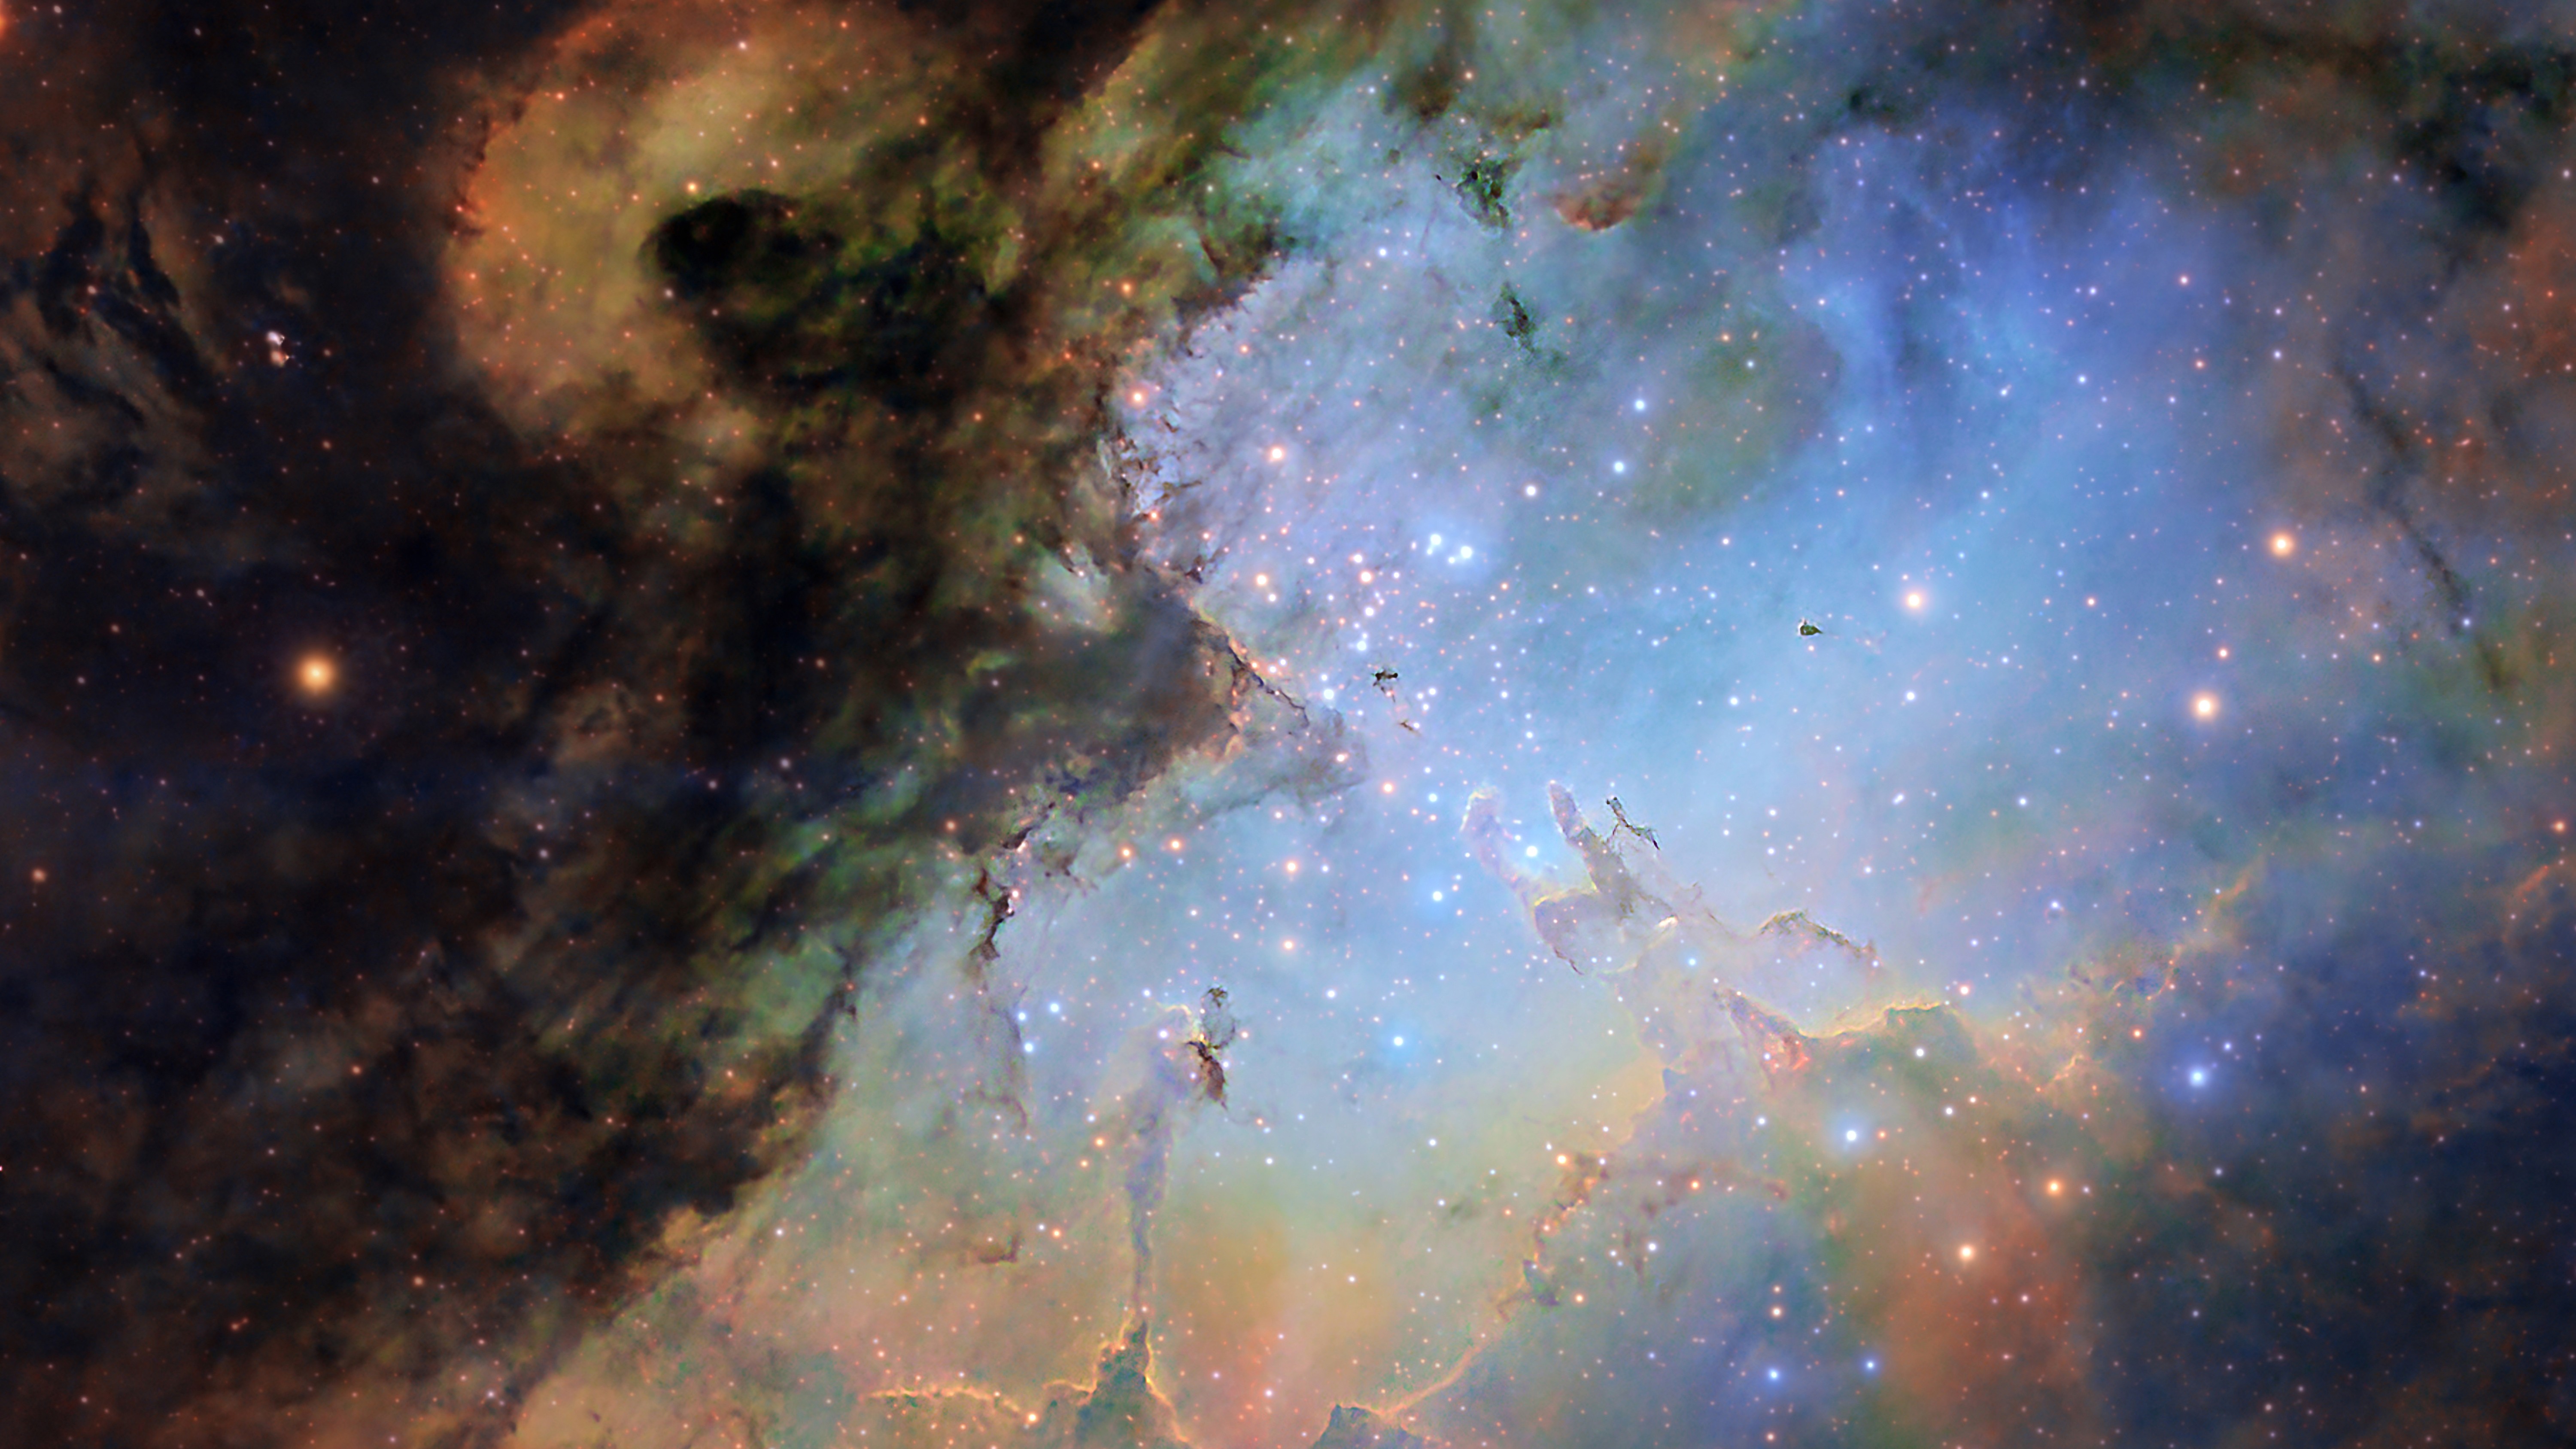
Shooting the night sky in JPEG is like painting a nebula with a cheap box of 8 crayons — you’re throwing away most of the detail and color before you even start editing. JPEGs are compressed, so the camera decides which information to keep and which information to discard. That’s bad news when it comes to astrophotography, where subtle tones and faint stars matter.
RAW files, on the other hand, keep every bit of data your sensor captures. They contain more color, depth, dynamic range and greater flexibility for adjusting your exposure and noise. This is especially crucial when you’re pulling faint detail from the Milky Way or bringing out colors in star clusters and nebulas.
RAW files are bigger, and they need processing before sharing — but that’s the point. Astrophotography isn’t about quick snapshots; it’s about creating the best image possible from the best possible data. If you want your night skies to always look their best, start with RAW.
Kimberley Lane, E-commerce writer for Live Science, has tested a wide range of optical equipment, reviewing camera gear from Sony, Canon, OM System and more. With over 6 years of photography experience, her skills span across landscape and seascape photography, wildlife, astrophotography and portrait work. Her photos have been featured in a number of national magazines, including Digital Camera World and Cosmopolitan. She has also contributed to our sister site Space.com and Tech Radar, and she regularly uses binoculars and telescopes to stargaze in the dark skies of South Wales.
You must confirm your public display name before commenting
Please logout and then login again, you will then be prompted to enter your display name.
 Live Science Plus


