5 common mistakes beginner wildlife photographers make — and how to avoid them
Spot these early errors to improve your wildlife photography fast — no new gear required.
Get the world’s most fascinating discoveries delivered straight to your inbox.
You are now subscribed
Your newsletter sign-up was successful
Want to add more newsletters?

Delivered Daily
Daily Newsletter
Sign up for the latest discoveries, groundbreaking research and fascinating breakthroughs that impact you and the wider world direct to your inbox.

Once a week
Life's Little Mysteries
Feed your curiosity with an exclusive mystery every week, solved with science and delivered direct to your inbox before it's seen anywhere else.

Once a week
How It Works
Sign up to our free science & technology newsletter for your weekly fix of fascinating articles, quick quizzes, amazing images, and more
Delivered daily
Space.com Newsletter
Breaking space news, the latest updates on rocket launches, skywatching events and more!
Once a month
Watch This Space
Sign up to our monthly entertainment newsletter to keep up with all our coverage of the latest sci-fi and space movies, tv shows, games and books.
Once a week
Night Sky This Week
Discover this week's must-see night sky events, moon phases, and stunning astrophotos. Sign up for our skywatching newsletter and explore the universe with us!
Join the club
Get full access to premium articles, exclusive features and a growing list of member rewards.
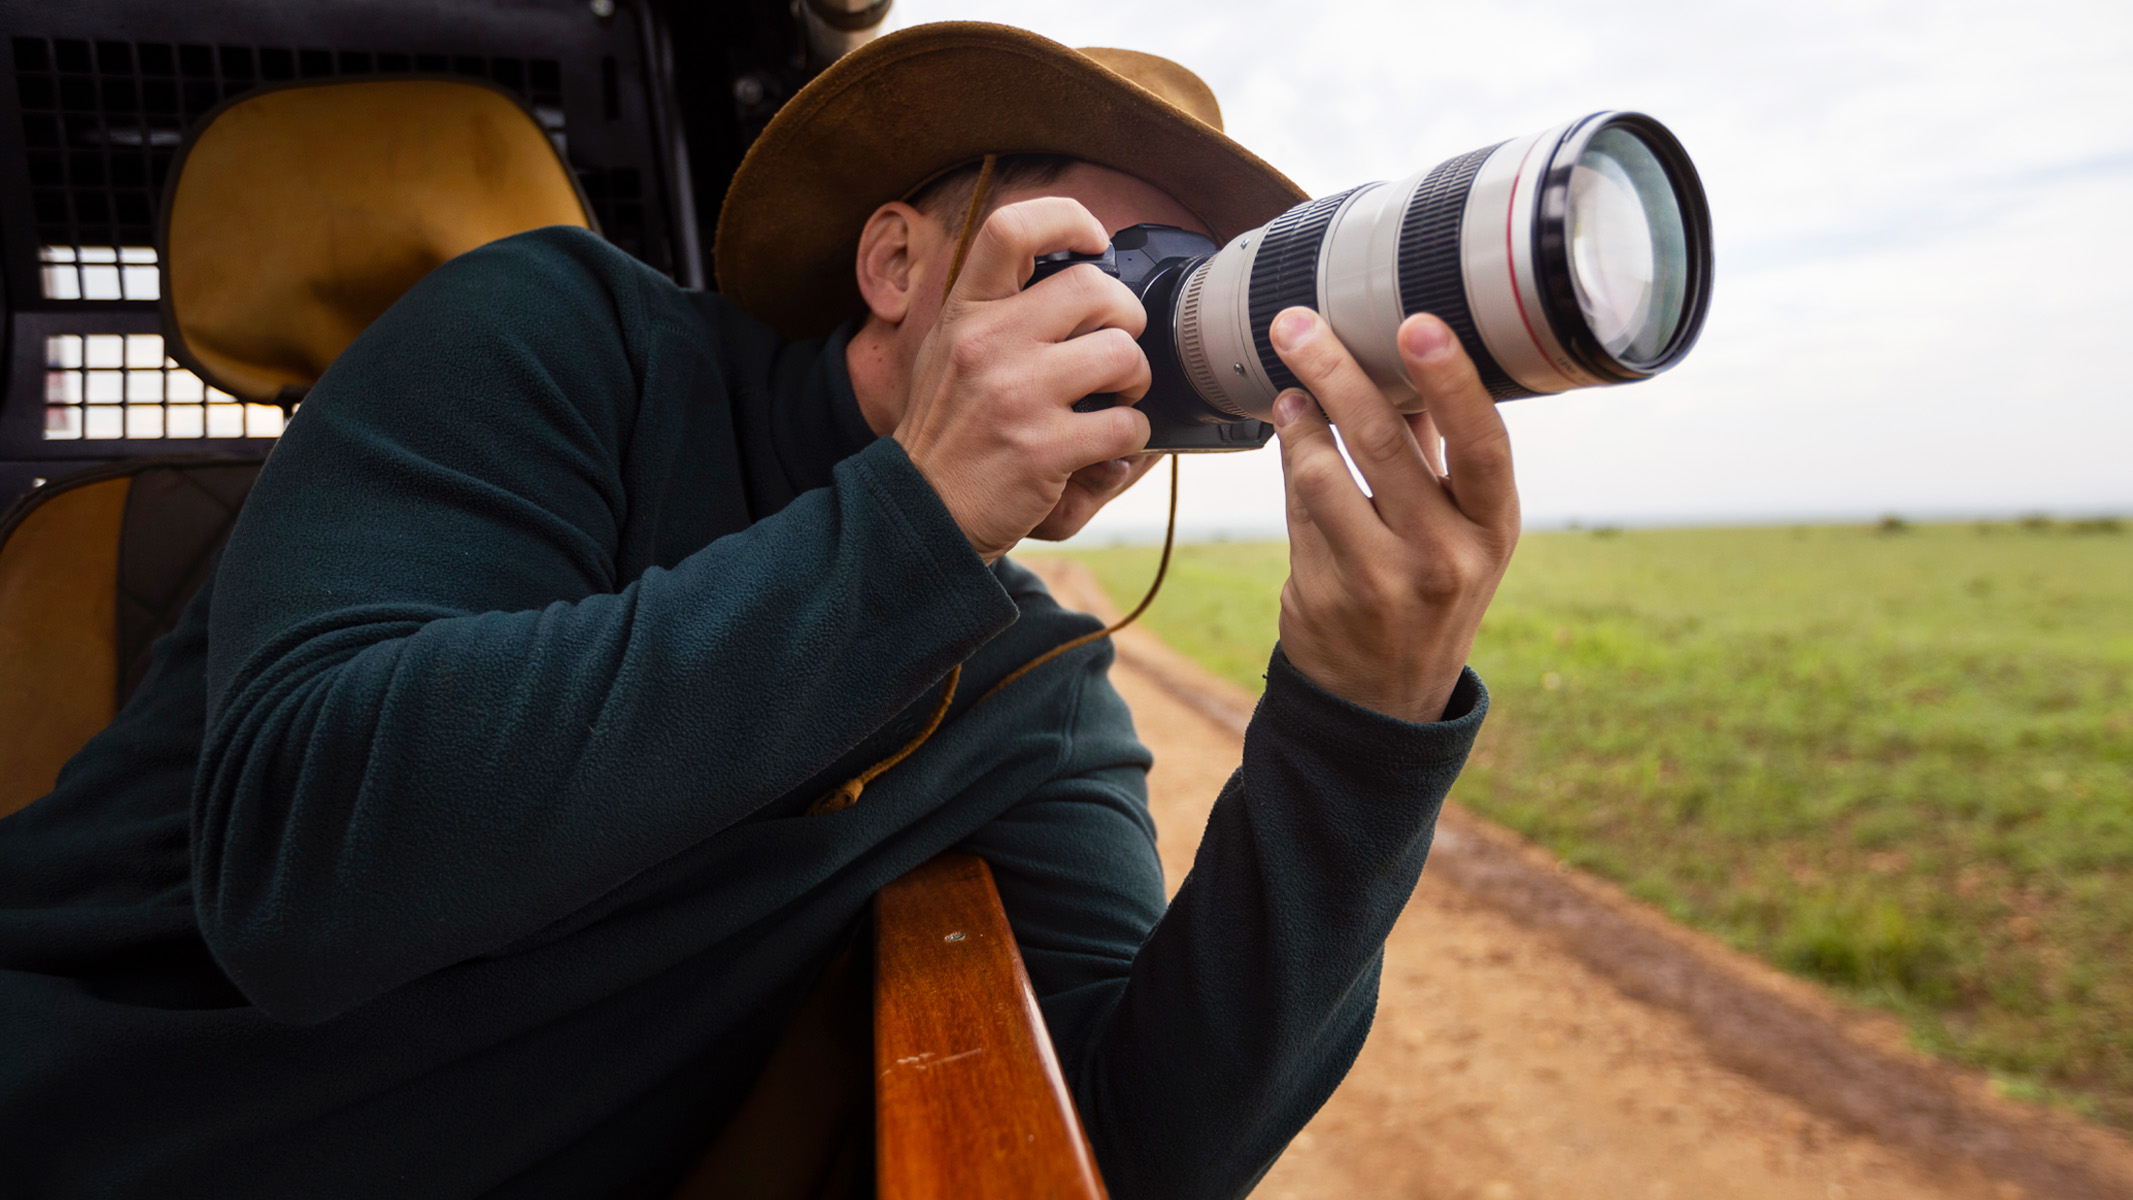
Wildlife photography is a constant lesson in patience and preparation. It’s about thinking smart, moving quietly and paying attention.
You don’t need all the latest, most expensive gear or hide in a bush for hours to get a brilliant shot, but you do need to avoid the rookie mistakes that trip up even the most enthusiastic beginners.
These five missteps are easy to make, and we’ve all made them, but luckily, they’re easy to fix. So, before you fill your memory card with near-misses and blurry birds, take note of these tips to get the best out of your shots.
1. Forgetting to check your camera settings
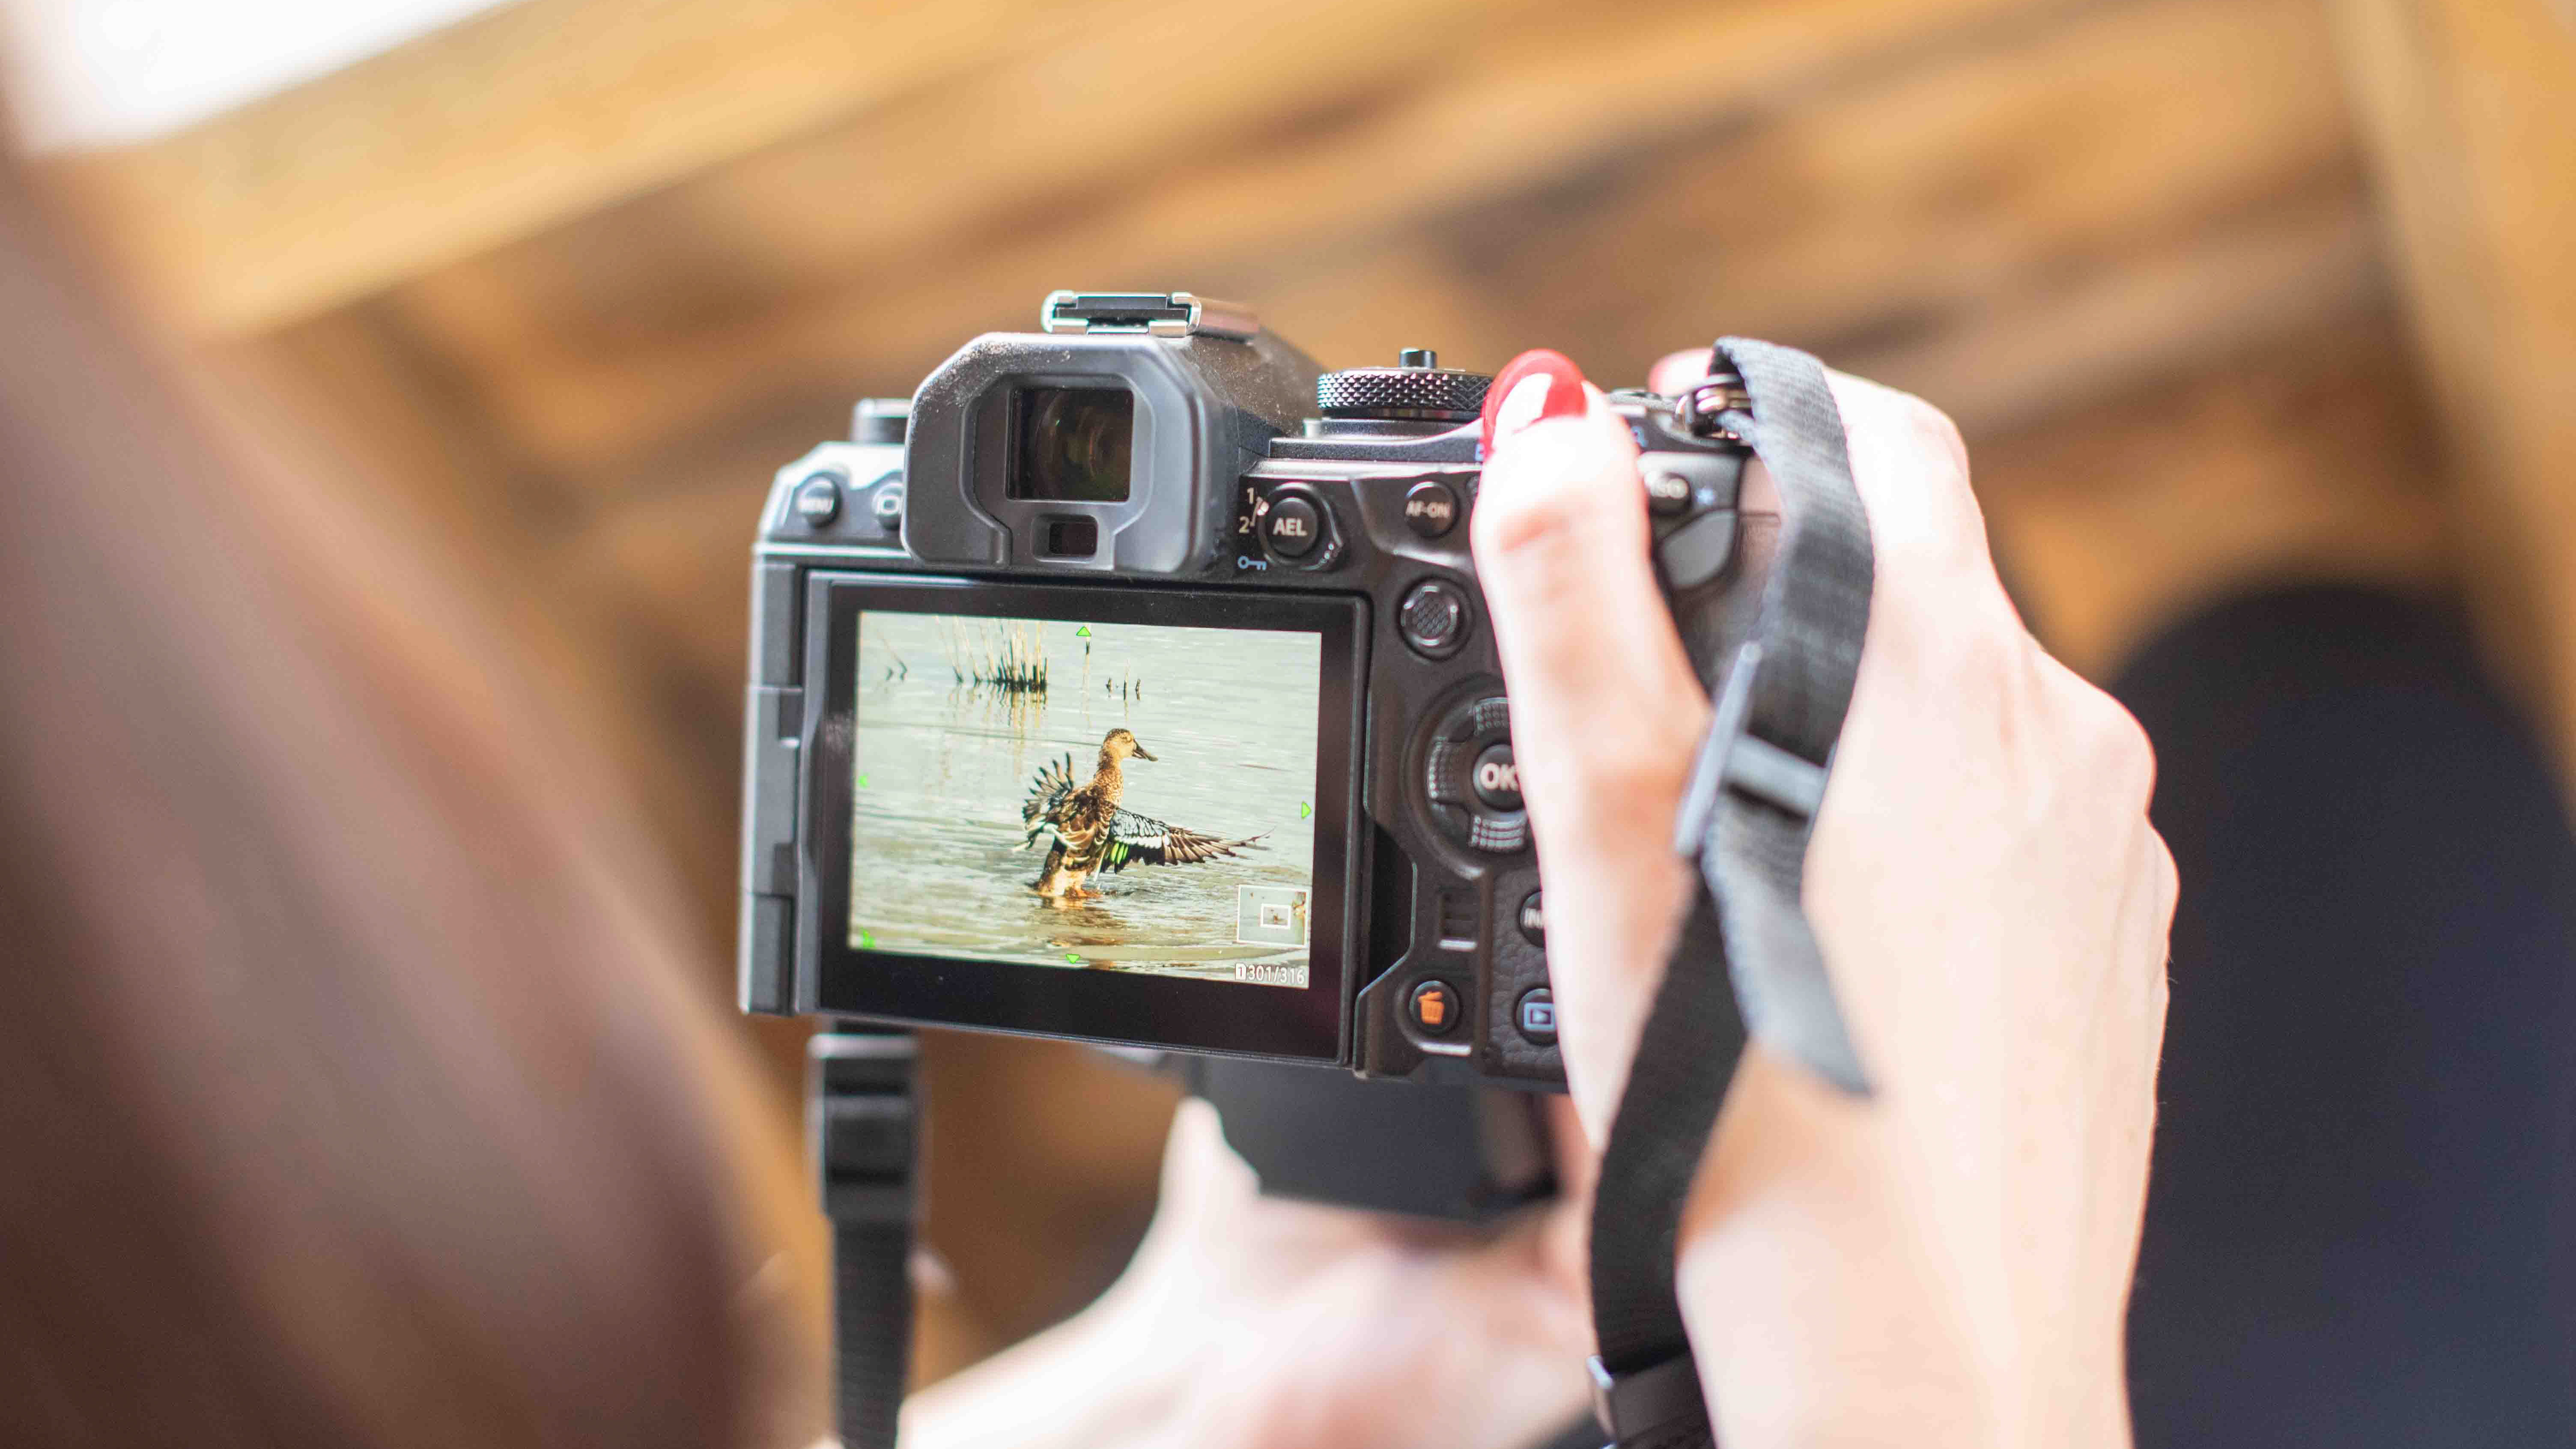
You see an animal, lift the camera — click. That fleeting moment is what makes wildlife photography exciting. But if your camera is still set to last night’s astro settings, you’ve just wasted your shot.
Before you start shooting, check your shutter speed, aperture, ISO, focus mode and shooting mode. Wildlife typically calls for fast shutter speeds (think 1/1000 or faster), continuous autofocus and burst mode to increase your chances of getting a great shot.
And don’t trust your camera screen — it lies. The glare on the screen, combined with the limited color reproduction and its small size, makes it hard to determine just how accurate your exposure is. Use your histogram instead for a much more precise reading. Aim for a balanced curve, not one bunched up against either side of the graph. Having the histogram displayed as you're shooting can help you adjust your settings accordingly if the light changes or you switch your subject.
2. Ignoring the light
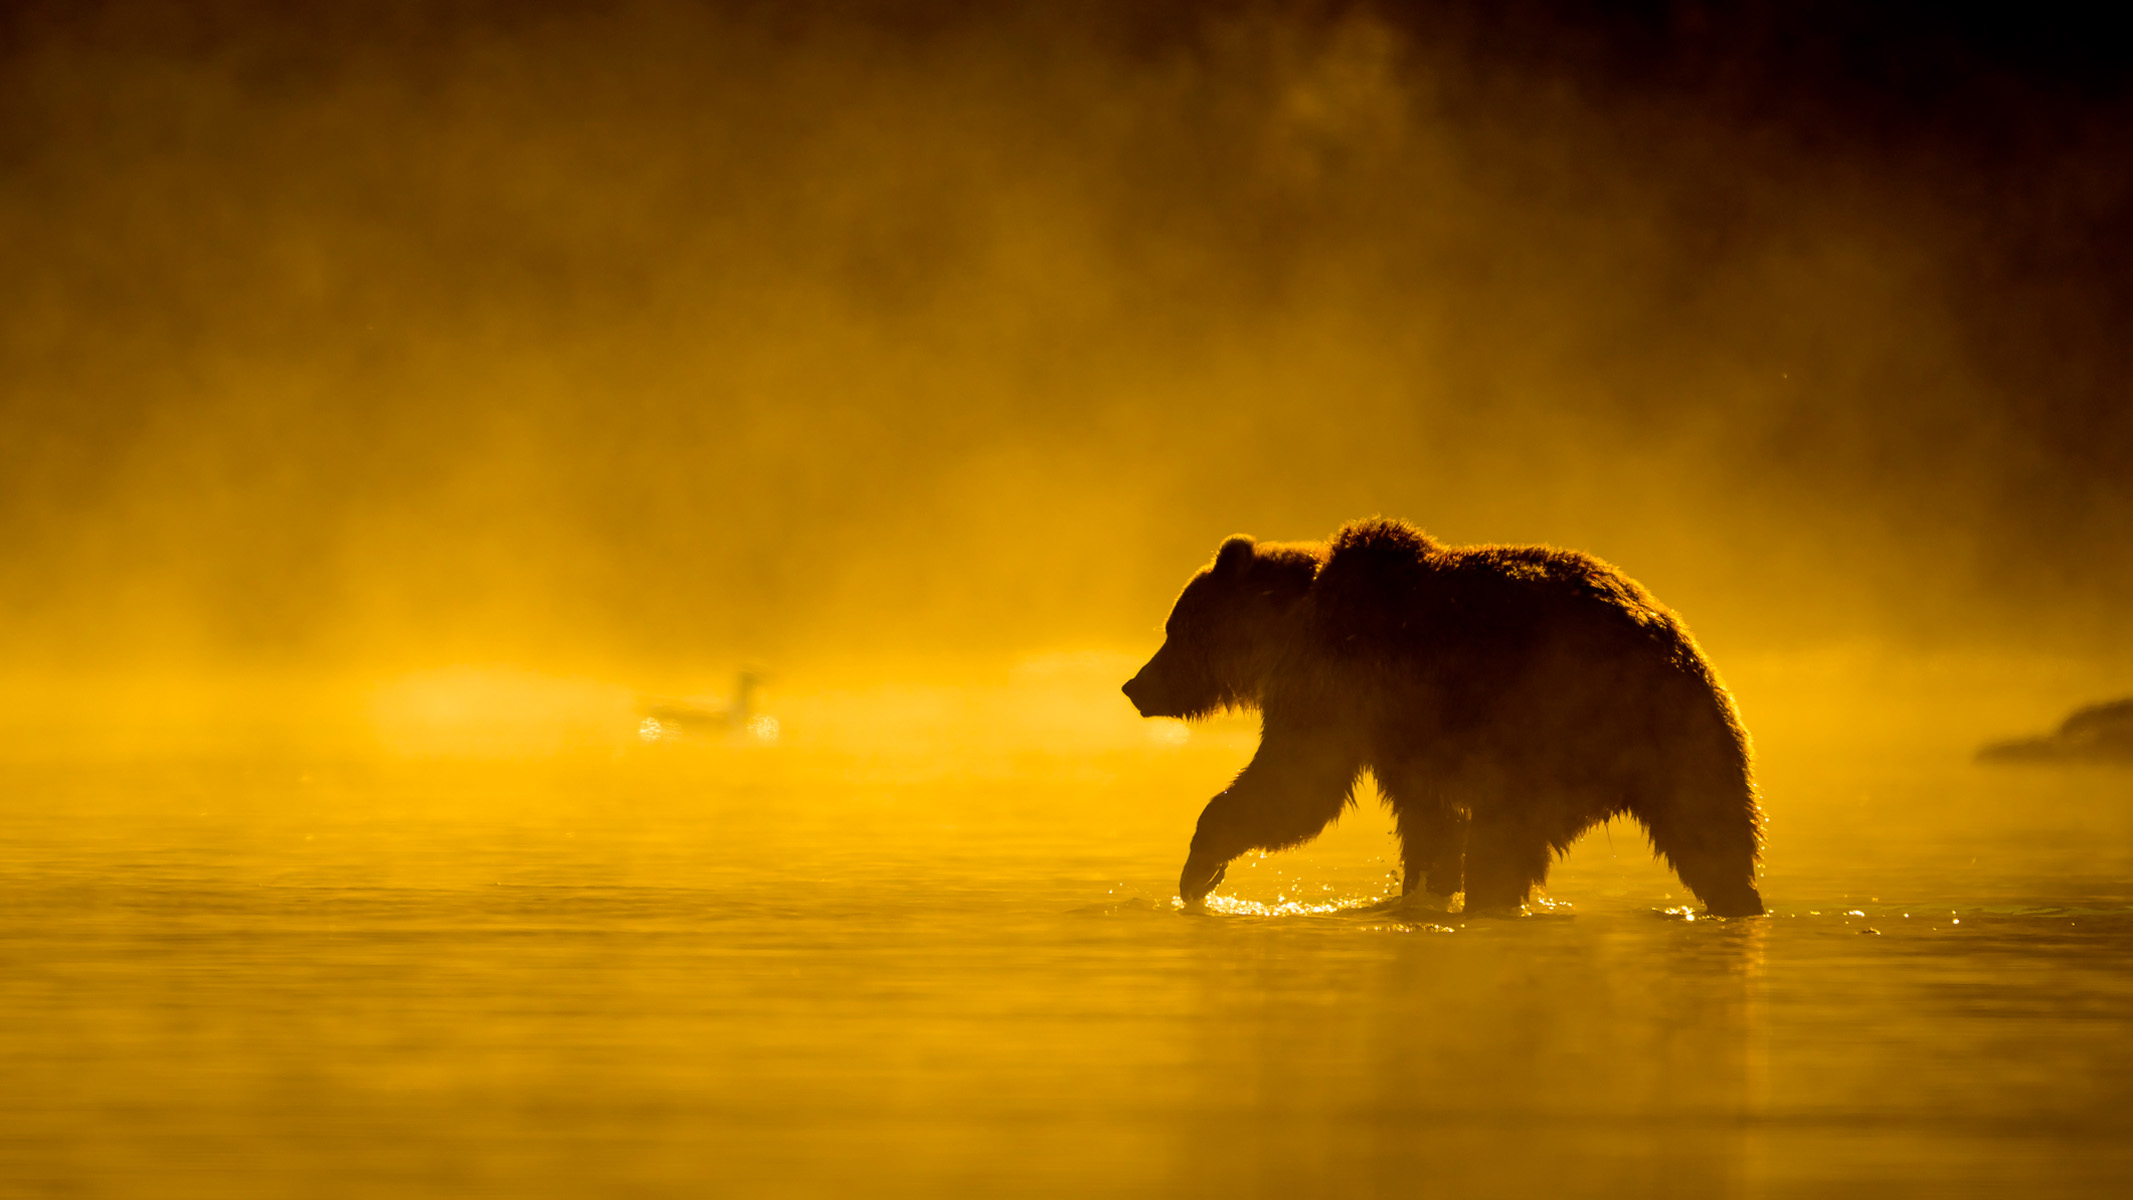
In photography, light is everything. It affects your exposure, color, detail, mood and even when certain animals are active. Yet many beginners head out at midday when the sun is high and shadows are harsh.
Get the world’s most fascinating discoveries delivered straight to your inbox.
Golden hour, just after sunrise and before sunset, is the prime time for wildlife photography. The light is softer, warmer and casts long, beautiful shadows. Luckily, it’s also when many species are most active. Don’t dismiss overcast days, either. Clouds act like a giant diffuser, softening the light and bringing out detail in fur and feathers. It’s also important to adjust your white balance to suit the conditions.
Also, consider where the light is coming from. Backlighting creates glowing outlines around fur and feathers, whereas sidelight adds texture and depth.
3. Getting too close
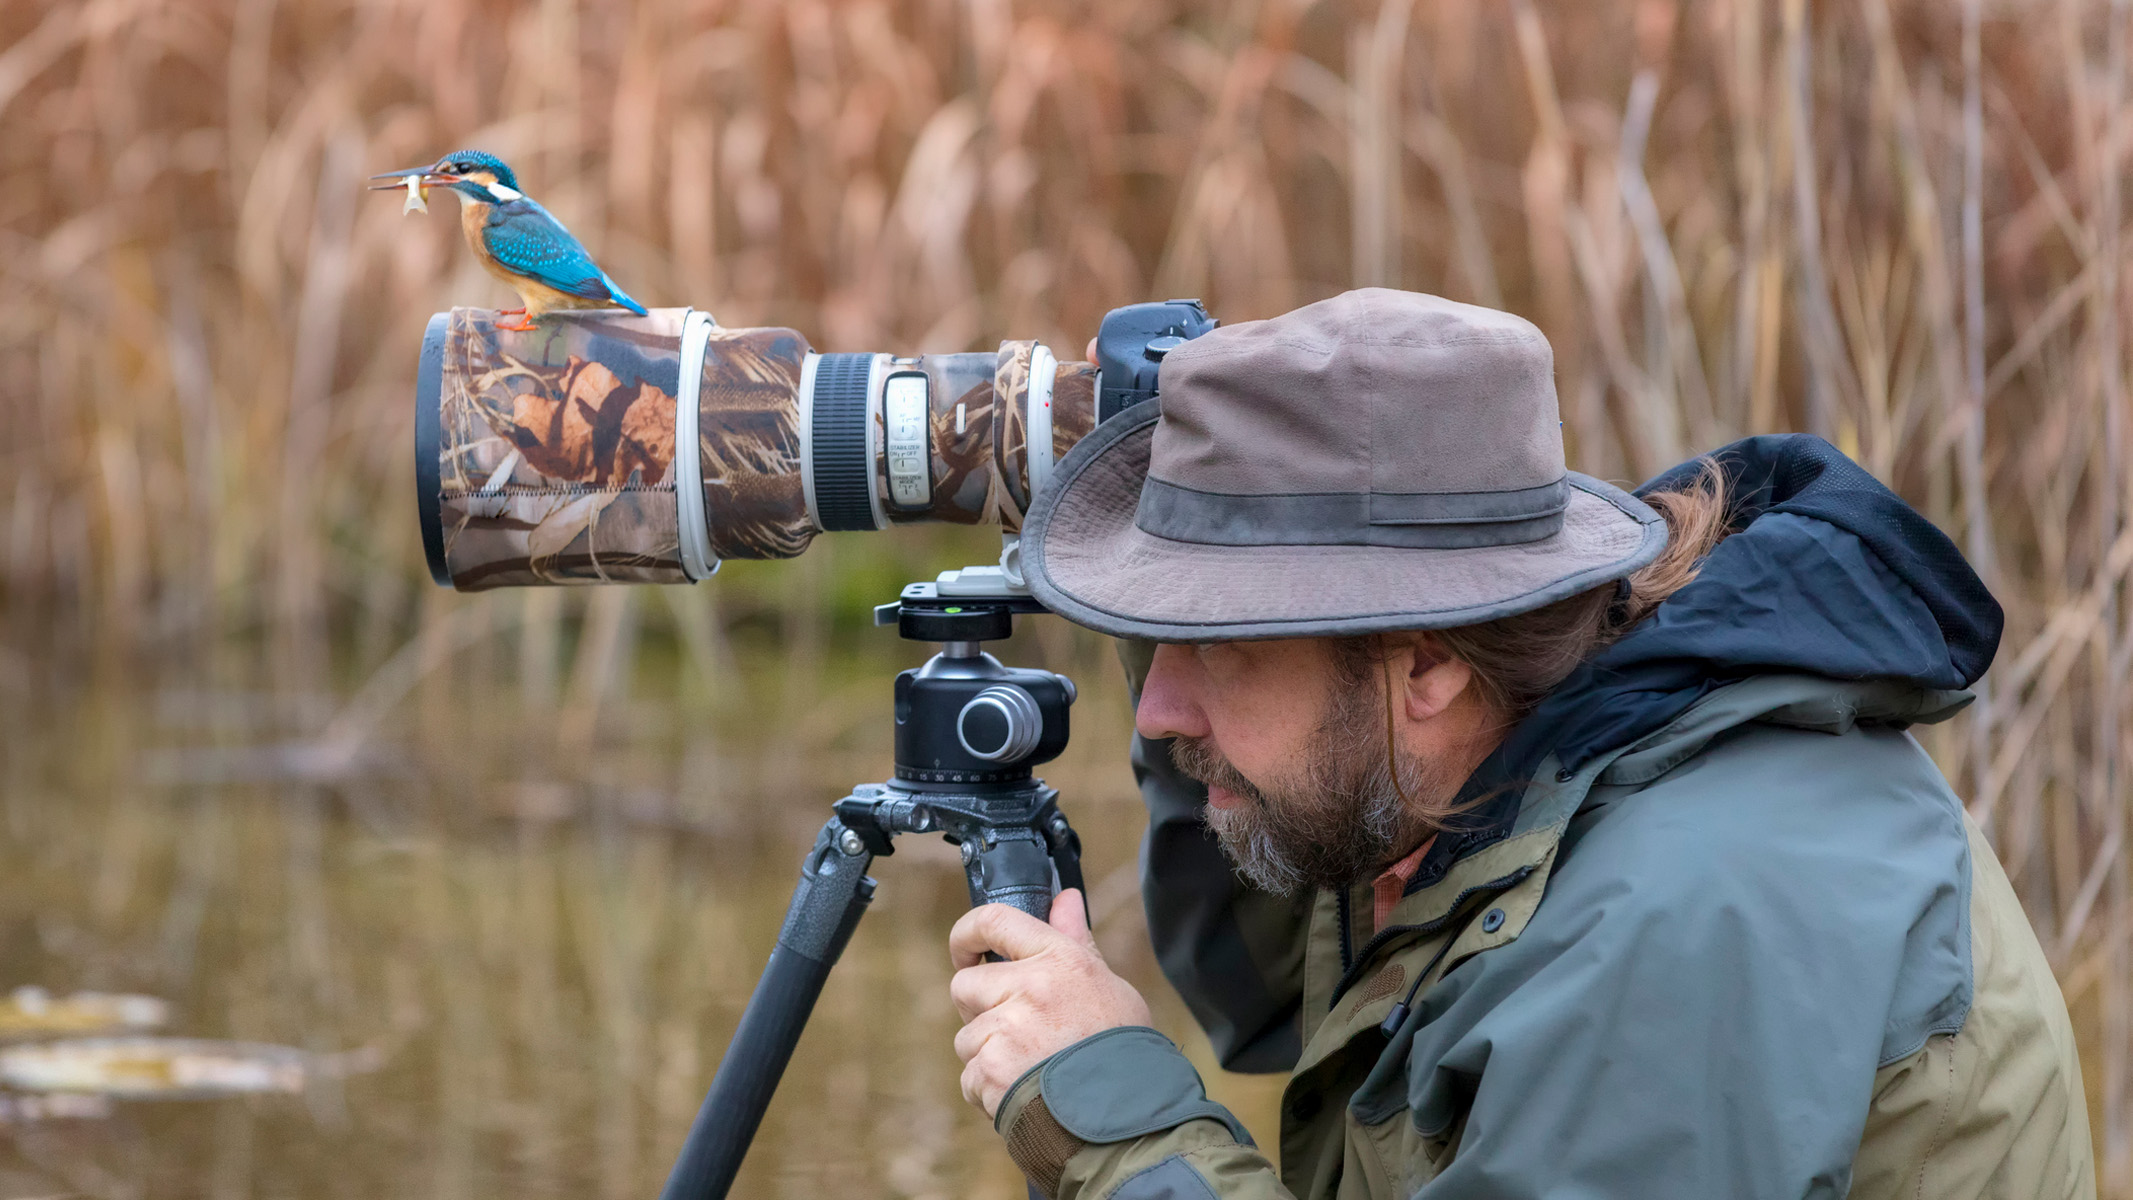
Getting close to an animal may feel like the goal, but moving in too close can scare your subject, alter their behavior or even cause harm, especially with nesting birds or stressed animals. And all you’ll end up with is a photo of a sad, empty log. Not to mention, if you go closer to an animal than your lens' close focusing distance allows, you won't be able to focus on it.
Instead, use longer lenses, or bring wildlife to you by setting up a bird feeder or water source in your backyard. If you know where an animal will show up, you can pre-frame the shot and wait from a distance. Animals that don’t know you’re there act naturally, and natural behavior makes for better photos.
Also, context matters. A wide photo that shows an animal in its natural environment can be far more powerful than a tight close-up of its face.
4. Over-relying on zoom or cropping
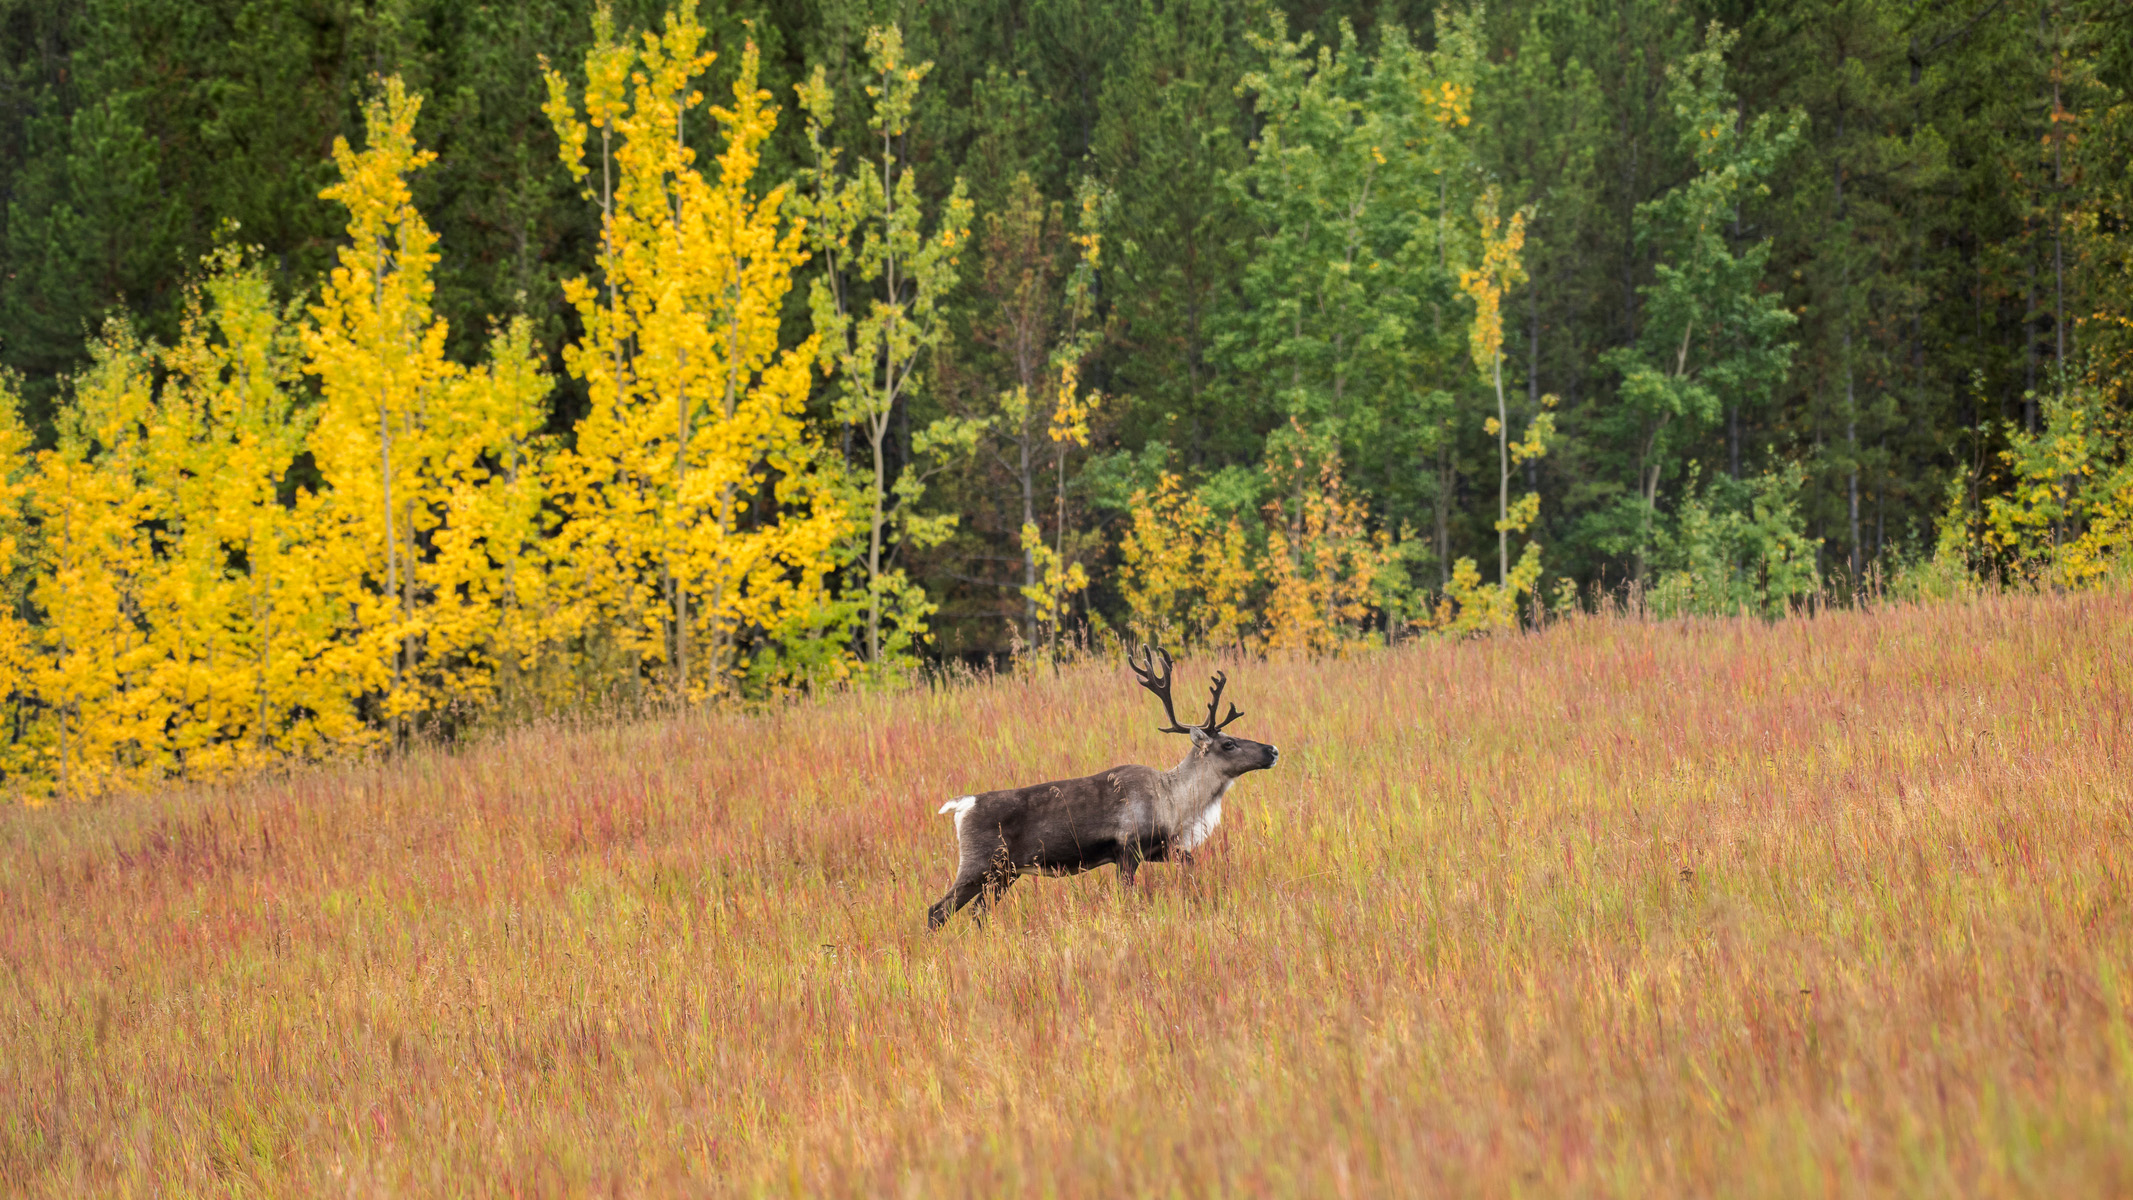
On the other end of the spectrum, don’t be so far away that you have to rely on zoom or cropping heavily. Zoom lenses are brilliant, but like chocolate cake, they’re best in moderation.
Zooming in all the way magnifies every wobble, especially if you’re shooting handheld. And if you don’t have a tripod, every slight movement can become a blurry photo. If you’re zooming in, use a fast shutter speed and steady yourself on a wall, rock or tree — or whatever surface is available to you.
You can rely on cropping to a certain extent, but only up to a point. Resolutions in most modern cameras let you crop in about 30-40% before you start noticing a significant drop in quality, especially for web use. Higher resolution cameras can afford a higher crop, so this all depends on how many megapixels your camera is blessed with, and the quality of the lens you’re using.
5. Not paying attention to your composition
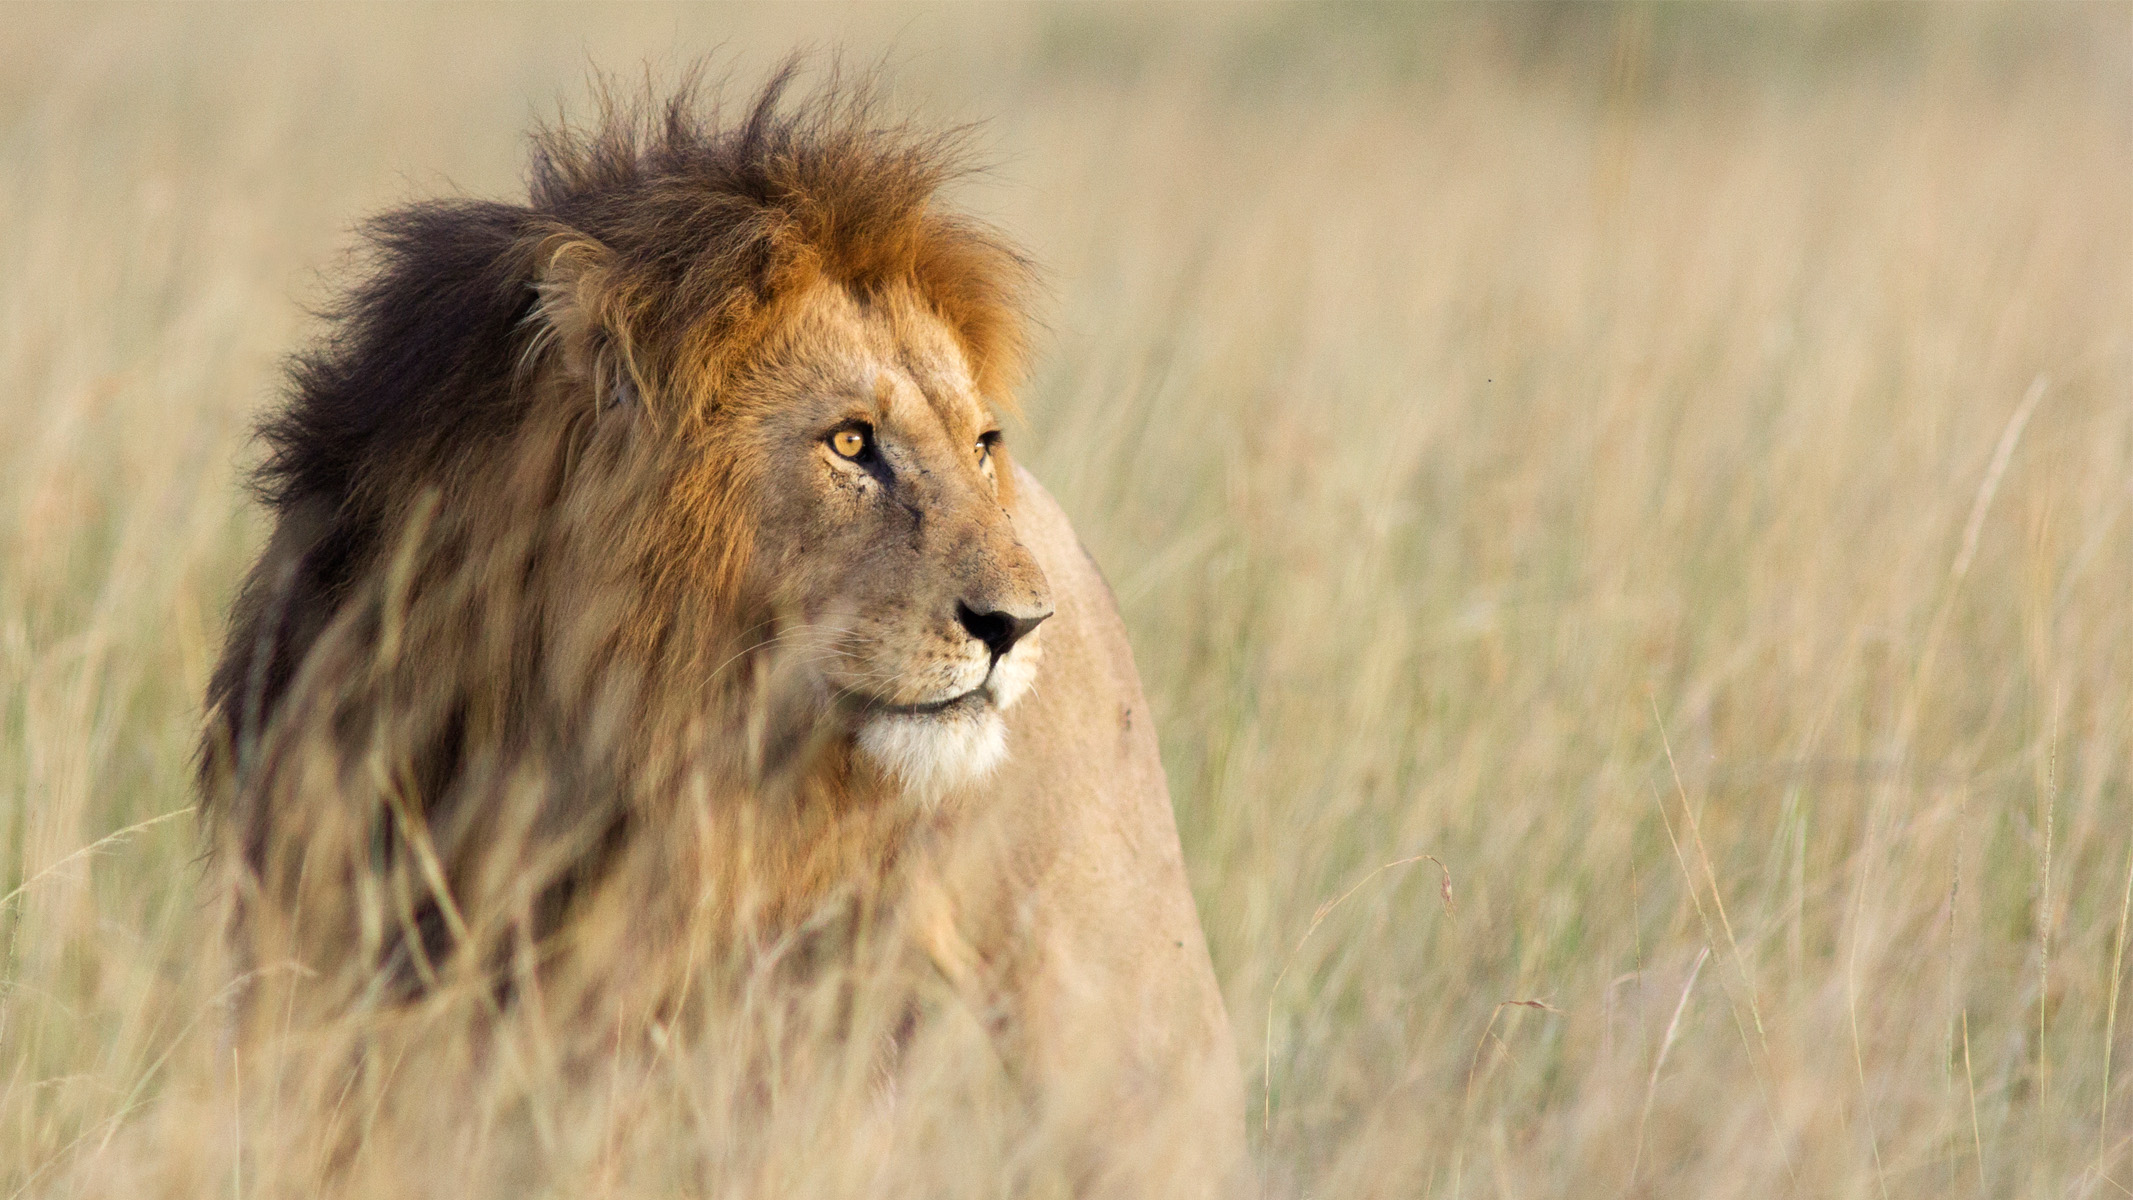
You’ve got the light, the moment, the right settings — but the photo still doesn’t land. Why? Weak composition.
It may seem natural to center every subject right in the middle of the frame. It’s safe, and often looks just fine, but safe can be boring. Using the rule of thirds, place the animal slightly off-center to draw the eye and create balance. Think about where the animal is looking or moving, and leave space in that direction to build tension and flow. Wider shots can be more cinematic and tell a story, so get creative.
Always remember to check the background and the edges of the frame. Is it clean or distracting? Use a shallow depth of field (wide aperture) to blur it out, or change your angle to simplify the scene. Be wary of background or foreground elements, like stray grasses, that create a distraction in your image. You also don’t want the horizon ploughing straight through the animal’s head. Shooting at eye level is another way to instantly improve your composition. Looking across at an animal, not down, makes the viewer feel part of the moment and the shot is instantly more engaging.
Kimberley Lane, E-commerce writer for Live Science, has tested a wide range of optical equipment, reviewing camera gear from Sony, Canon, OM System and more. With over 6 years of photography experience, her skills span across landscape and seascape photography, wildlife, astrophotography and portrait work. Her photos have been featured in a number of national magazines, including Digital Camera World and Cosmopolitan. She has also contributed to our sister site Space.com and Tech Radar, and she regularly uses binoculars and telescopes to stargaze in the dark skies of South Wales.
You must confirm your public display name before commenting
Please logout and then login again, you will then be prompted to enter your display name.
 Live Science Plus


