Live Science Plus


Wildlife photography is incredibly rewarding, especially when you finally nail that shot of the animal you've been searching for, but it takes skill and patience to master capturing great photos of the animal world. There's a lot that goes into wildlife photography, like your subject's habitat and behavior, not to mention the ever-changing lighting conditions. You need to be prepared with the right gear and settings, along with a solid knowledge of your subject.
In this guide, we're going to cover all the basics of wildlife photography, including recommendations on the best cameras for wildlife photography alongside any other gear you'll need. We explain which lenses to choose and explain the best camera settings for sharp images, and give tips on how to master tricky lighting conditions along with some must-have accessories to make shooting a lot easier.
Article continues belowChoosing the right camera

Burst rate
One of the most important features of the best wildlife photography cameras is the burst rate. This refers to the number of images your camera can shoot per second, known as 'frames per second', often abbreviated to FPS. A faster burst rate is particularly beneficial for wildlife photography to capture the movement of the animal, especially if they move fast. Having a faster burst rate gives you more images to choose from, which increases the likelihood of having captured the exact right moment — like a bird coming in to land or a bear catching a salmon.
Of course, the more expensive pro models are more likely to have faster burst rates. For beginners, anything over 10FPS will be fine, but anything over 15FPS will be great. Keep in mind that cameras often have different burst rates depending on what image format you're using. For example, you'll get the highest burst rate when you're shooting in JPEG, and it will decrease when you're shooting RAW images due to the larger file size. Whether you're using the electronic or mechanical shutter will also affect the burst rate.
Autofocus
Another important camera feature for wildlife photography is autofocus (often displayed as AF). This refers to the camera's ability to detect and track the animal as it moves through the frame. With the steep technological advancements in recent years, cameras are now exceptionally good at locking onto animals to maintain pin-sharp focus, and many even have real-time eye autofocus.
When you're buying a camera, check to see what subjects it can detect. Some are more basic and only offer a generic 'animal' autofocus mode (which will still do the job at a beginner level), but others have bird, insect and even cat/dog modes. Many newer models have AI-powered autofocus that can predict how your subject can move, and some of the high-end cameras can even set the focus based on where your eye is looking in the viewfinder!
Silent shooting
It's also worth checking that a camera has a silent shooting or electronic shutter mode. Older DSLR cameras that only have a mechanical shutter would risk scaring an animal away with the sound of the shutter, but most newer mirrorless models have the option to shoot silently so you don't disturb the subject you're photographing.
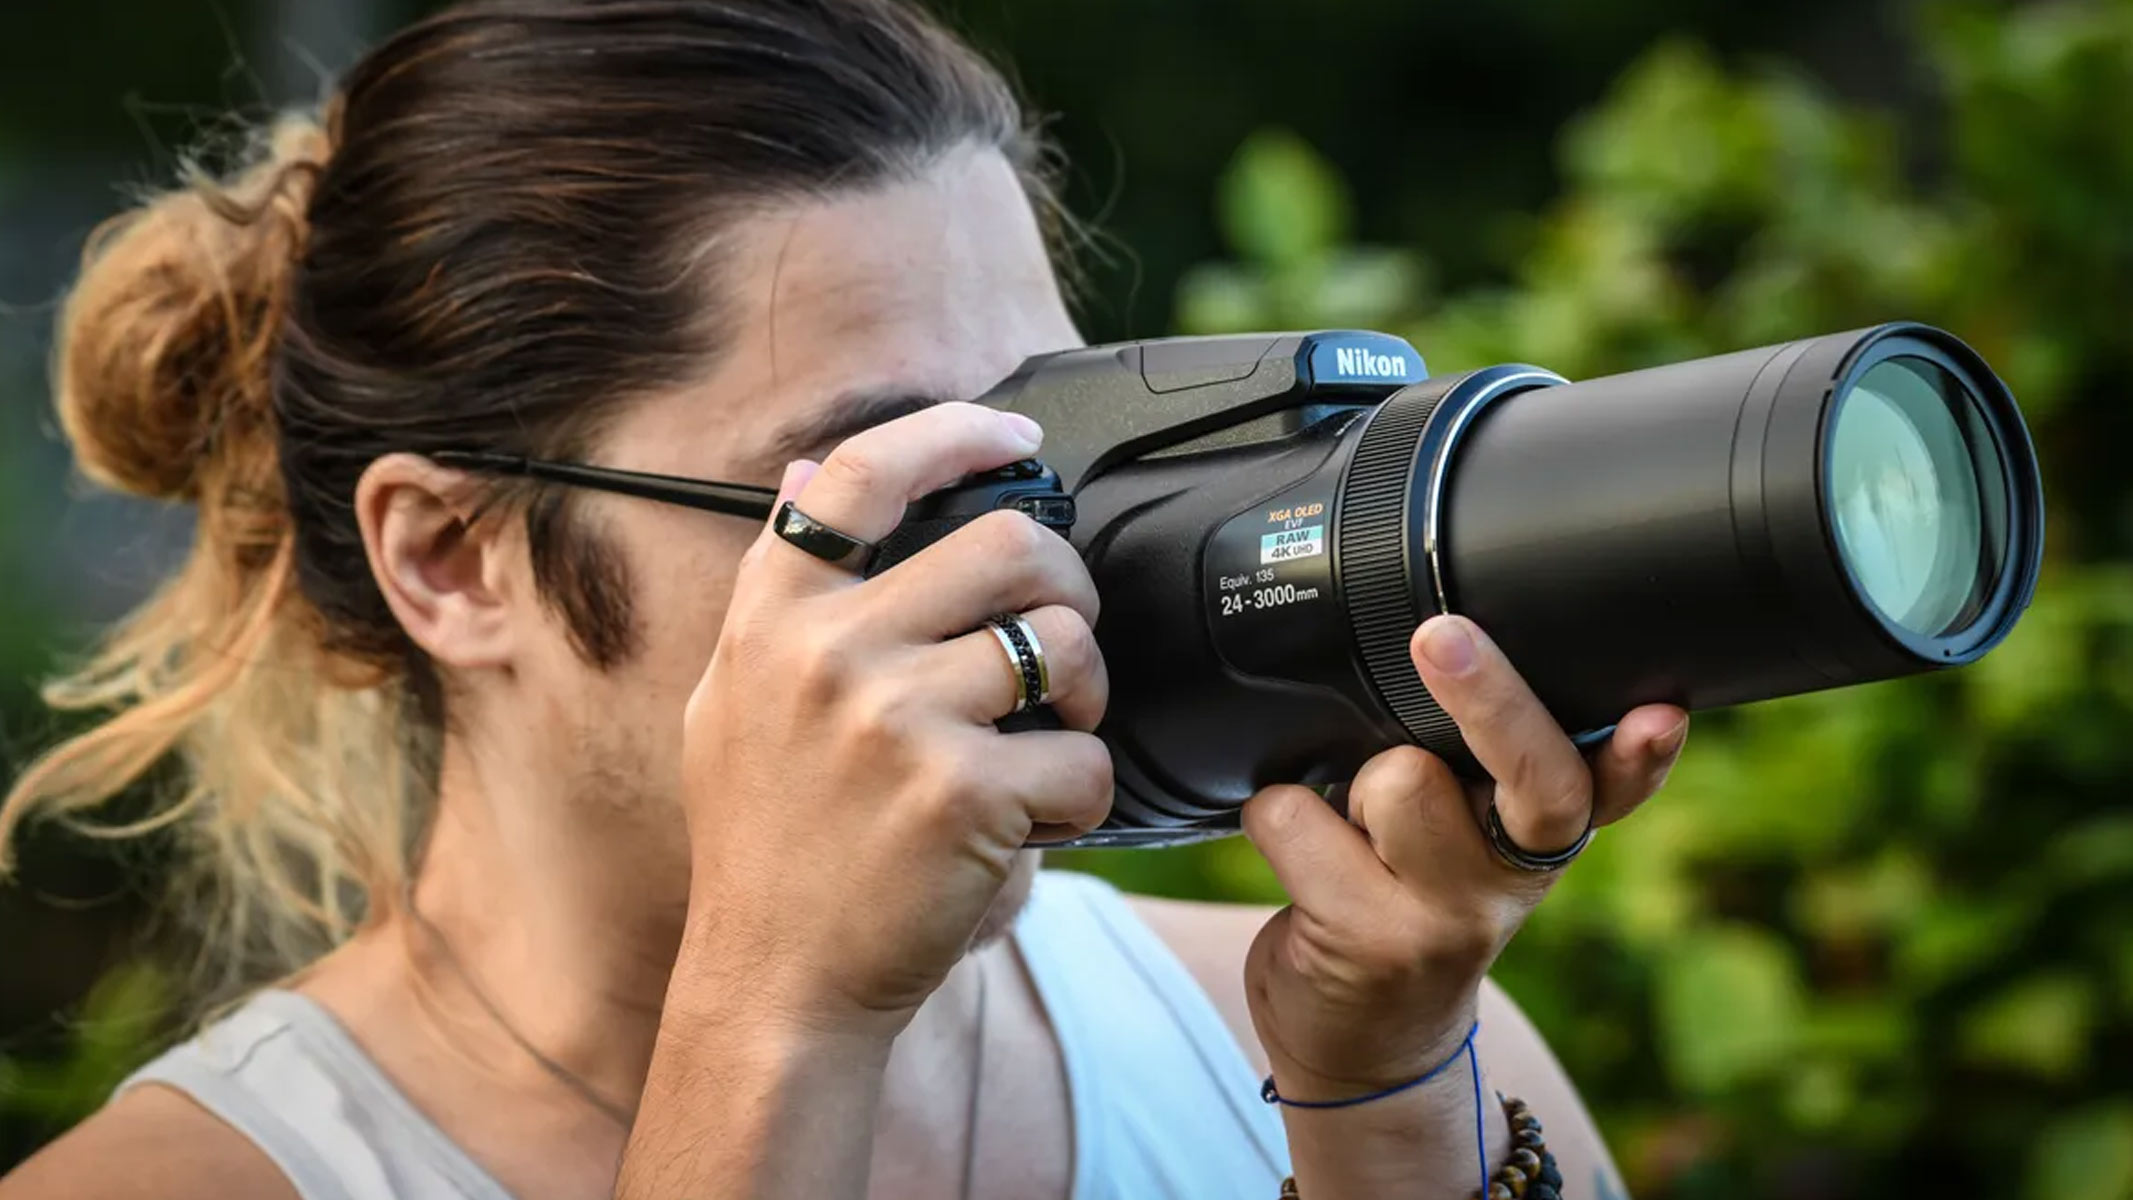
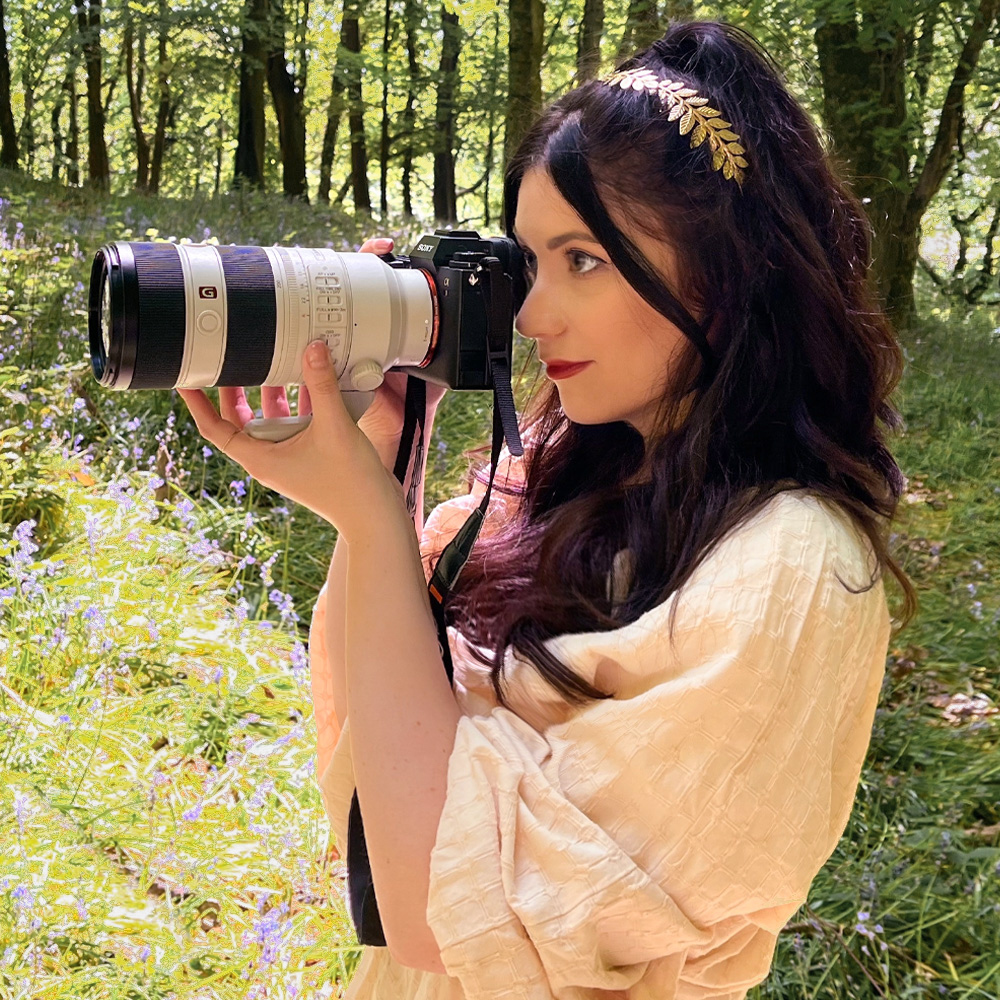
Lenses

Typically, wildlife doesn't like getting too close to humans (unless you're some kind of Disney Princess), so you'll need a long lens to photograph animals further away.
Focal length
This refers to, essentially, how far the lens can see. It's written in millimeters (eg. 100-400mm) and even though it depends on what animals you want to photograph, wildlife photographers typically use focal lengths above 200mm. There are two types of lenses; zoom lenses and prime lenses. Zoom lenses have varying focal lengths and prime lenses are fixed. Prime lenses tend to be sharper and can let in more light, but zoom lenses are generally preferred for wildlife photography to allow for an animal's movement.
The pros tend to use these gigantic wildlife lenses at around 600mm which are as long as their arm and cost their firstborn child, but beginners would be fine with a standard telephoto 70-200mm or a 100-400mm.
Aperture
The aperture refers to the depth of field, and how much light a lens can let in, in a similar way to how your pupils dilate and constrict when the light changes. If you hear anyone refer to how 'fast' a lens is, the aperture is what they are referring to. This, in turn, affects how you set your shutter speed and ISO, because if you can set your aperture to let in more light, you can then afford to use faster shutter speeds to ensure your image isn't blurry.
Aperture is written as an 'f-number', for example, f/2.8 or f/4. The lower the number, the wider the lens' 'pupil' can dilate, letting in more light. So in this example, an f/2.8 lens would be faster than an f/4 lens. If there's only one number listed under your lens' aperture, that means the aperture is constant throughout every focal length that lens is capable of. On the other hand, if there's more than one number, for example, f/5.6-6.3, this means that at the shorter end of your lens' focal length, say, 100mm, the aperture can go as low as f/5.6, then as you zoom in, the aperture value will decrease down to f/6.3 at the longer end of your lens' focal length, eg. 400mm. Lenses with wider or constant apertures tend to be more expensive, so beginners will likely start out with a slightly slower lens.
Aperture is also how you can isolate your subject and create a blurry background, known as bokeh. The lower your f-number is, the shallower the depth of field will be.
Compatibility
It's also worth keeping in mind that not all lenses will fit all cameras. You need to make sure your lens is compatible with your camera's mount, and that you buy the appropriate lens depending on whether your camera is full frame, crop sensor (APS-C) or micro four-thirds.
Camera settings
Drive mode
The drive mode refers to how many images your camera will take with one press of your shutter button. Single shot mode unsurprisingly takes one single shot, whereas continuous shooting will take as many images as your buffer can handle while your finger is keeping the shutter button pressed down. (This is also where your burst rate comes into play).
Set your autofocus
There are two parts to this — first, set your autofocus mode to 'continuous', meaning that the camera will continuously focus on your chosen subject. Then, you need to select your subject to detect from the menu. As we mentioned earlier, each camera will have different options, so choose whichever one is more appropriate. Many modern cameras even have eye autofocus.
Shooting mode
On your camera's main dial, we'd recommend starting with shutter speed priority while you learn the basics. This means that you only need to worry about setting your shutter speed manually, and the camera will automatically set the aperture and ISO based on the light levels it can detect. This mode is usually labeled as 'S' or 'Tv' (which stands for Time Value). We've answered some helpful questions about shutter speeds in our best cameras for wildlife photography guide.
Image format
If you're serious about photography, we always recommend shooting in RAW. This gives you more detail in the final image, and you can edit them more easily and non-destructively. They're larger files than JPEGs, but JPEGs are only recommended for 'point and shoot' style photography where you want to share your images straight away without editing them. Most cameras are automatically set to shoot in JPEG, but you can easily switch to RAW in the menu.
Know your subject

So you've decided which animal you want to photograph, now you need to find them. This is where research pays off, as it’s important to know the behaviors and habitats of your chosen subject. You'll need to know what time of day (and year) they’re likely to be active and the best spots to find them.
If you want to get the hang of photographing animals before you head out to find them in the wild, consider going to a local animal sanctuary or photographing your pets. This allows you a chance to try out your camera and settings in a more controlled environment where you're likely to see the animal more than once! Many wildlife reserves have hides of their own you can use. If you're lucky to live close to a nature reserve or national park then you'll have plenty of wildlife spotting opportunities, whether that's water birds by a lake, the grizzly bear in Yellowstone or bald eagles in the Chilkat River valley.
Working closer to home, you could even set up a bird table in your garden and photograph the birds from a window. All of these are great practice runs for more wild, wildlife photography!
Mastering lighting conditions

Another aspect of wildlife photography to take into account is lighting. Not only will you be outside, where the lighting is unpredictable at the best of times, but crepuscular animals only come out at dawn or dusk, and nocturnal animals only appear once it's dark. With this in mind, you’ll need to set your camera up for low-light photography and be comfortable changing your settings as the light changes.
Having a fast lens will help you here, as you’ll be able to open up your aperture to enable faster shutter speeds in darker conditions. In these conditions, you’ll really see the difference between an f/4 lens and an f/2.8 lens. This is why using shutter priority is advantageous for beginners, as you only have one setting to worry about and the camera will figure out the rest.
Must have accessories

Tripods aren't typically used for wildlife photography because you need to follow the animal around as it moves, and a tripod would only become a hindrance. There are certain situations where you might consider using one, though, for example, setting up your camera to photograph a bird table in your garden, or if you want to photograph a butterfly on a specific flower. A monopod would be better if you really want to take the weight off your arms, but we've tried shooting with a monopod and it just ends up getting in the way.
When you're out in the wild, neutral clothing will also help. You don’t have to go full-on camouflage, but we'd recommend trying to blend in with the surroundings as much as you can so you don’t scare the animals off.
Another potential helpful accessory would be to invest in a pair of the best binoculars to help you spot your subject. These will help you identify animals more easily and also pinpoint the location of the animal you want to photograph.
You must confirm your public display name before commenting
Please logout and then login again, you will then be prompted to enter your display name.